Our boat was built in 2001 to the original Owner’s specifications then 4 years later sold to the previous Owner who lived on it for 14 years and made it their home. Now, it is our home. While she was in good shape when we purchsed her, she was 20 years old. The plastic laminate, which is on every surface where there isn’t wood, had become dingy and had holes in it where artwork, hooks and lamps had been screwed down. The same red-orange wood was everywhere – trim, furniture, cabinets, walls, doors, floors – everywhere! It too had holes in it and was faded in many places. The cloth upholstery indoors and out was tired and stained. The light fixtures had been retrofitted with LED bulbs but, barely emitted light. And as everything else, the appliances and navigation equipment were 20 years old and no longer reliable or energy efficient which are serious considerations when you’re on a boat…
After the one trip to view the boat in Brunswick, my architect’s mind / eye had already started the renovation process. On the other hand, Luke was so pleased to have found a boat that was in “good shape” he thought my avarice for change was premature and cautioned me to wait until we moved onto the boat and had had a chance to live there. At least that was his tune until he spent a few days on it by himself while the boat was going through it’s pre-purchase survey or inspection. When he came home from that experience he was more open to my ideas and that’s how we came to dragging quartzite slabs to be used for the new kitchen countertops across the country.
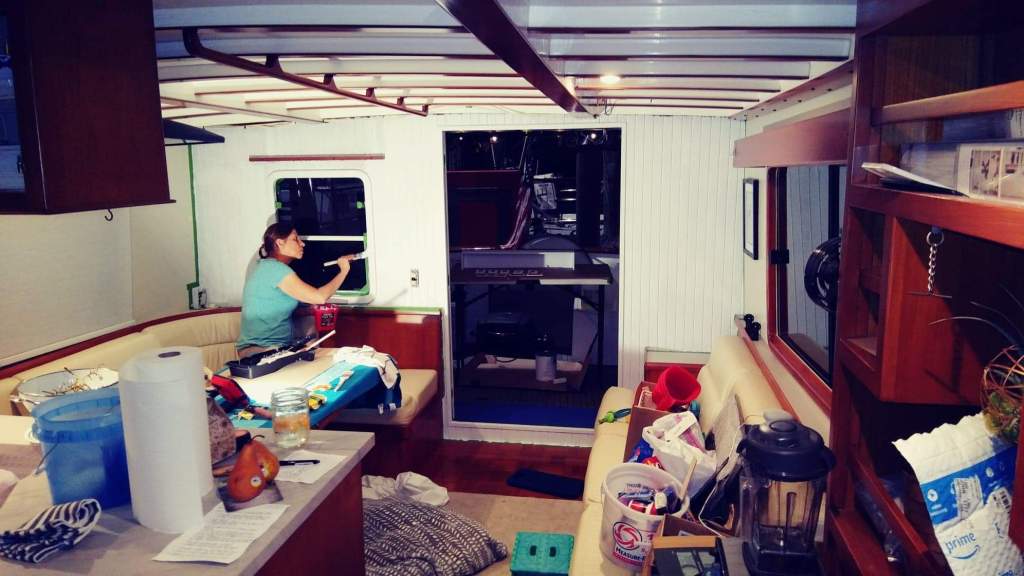
The next obstacle was convincing him that it would be okay to paint some of the wood. We had had this same challenge in our home. When I moved into the house, there was wood everywhere or wall to wall carpeting but, that’s another story for another page. Some of the wood was beautiful but, some had yellowed or faded and was no longer attractive. The problem when there is too much of one material it becomes overwhelming and you no longer see it. So in the house, little by little we painted some, refinished others and even added some more – wood flooring and wood cabinets but, different from what was already there, and the beautiful cherry and fir wood cabinets and the post & beam framing started to stand out. That said, this is a boat and traditionally boats are wood – a lot of wood! What didn’t help is when Luke talked with other boat owners about our painting plans and they’d respond with hairy eyeballs. However, I persevered and like with the house little by little as coats of paint went down and colors started to shine Luke began seeing the merit in this approach and is very pleased and proud of how it’s all turned out.
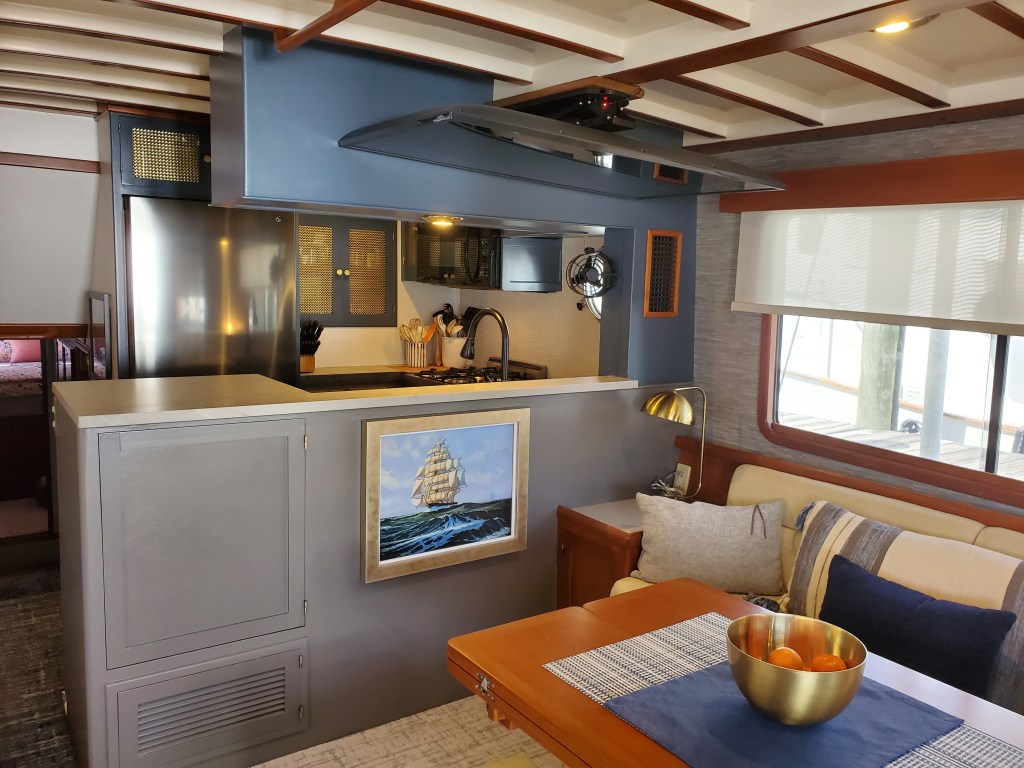
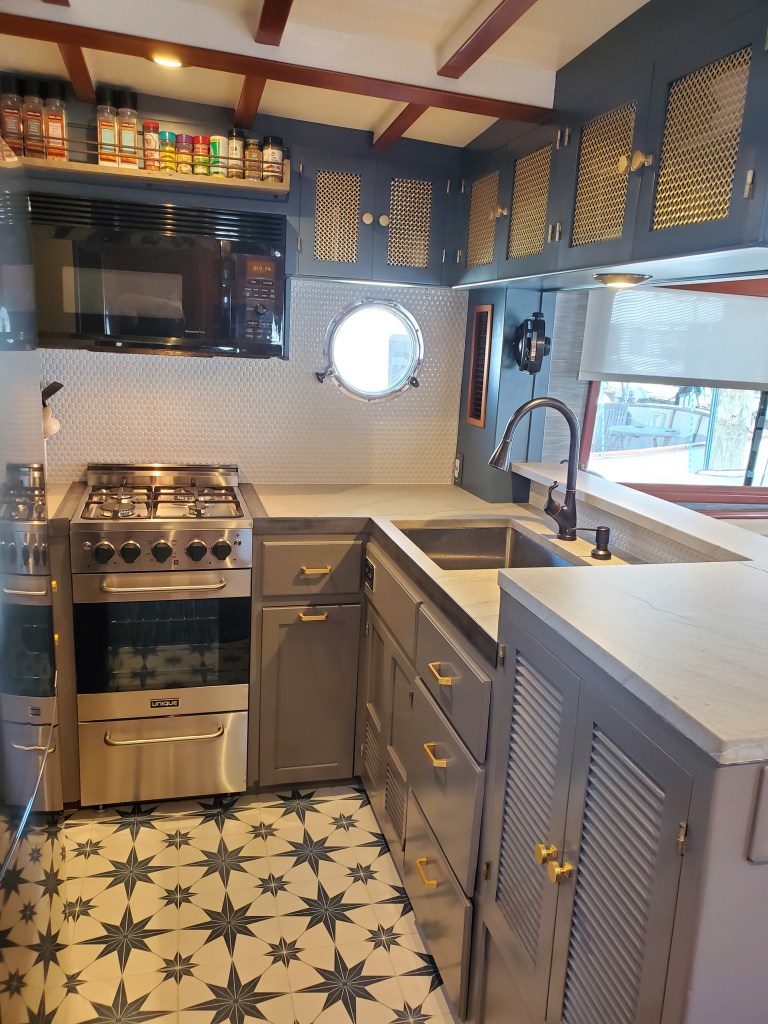
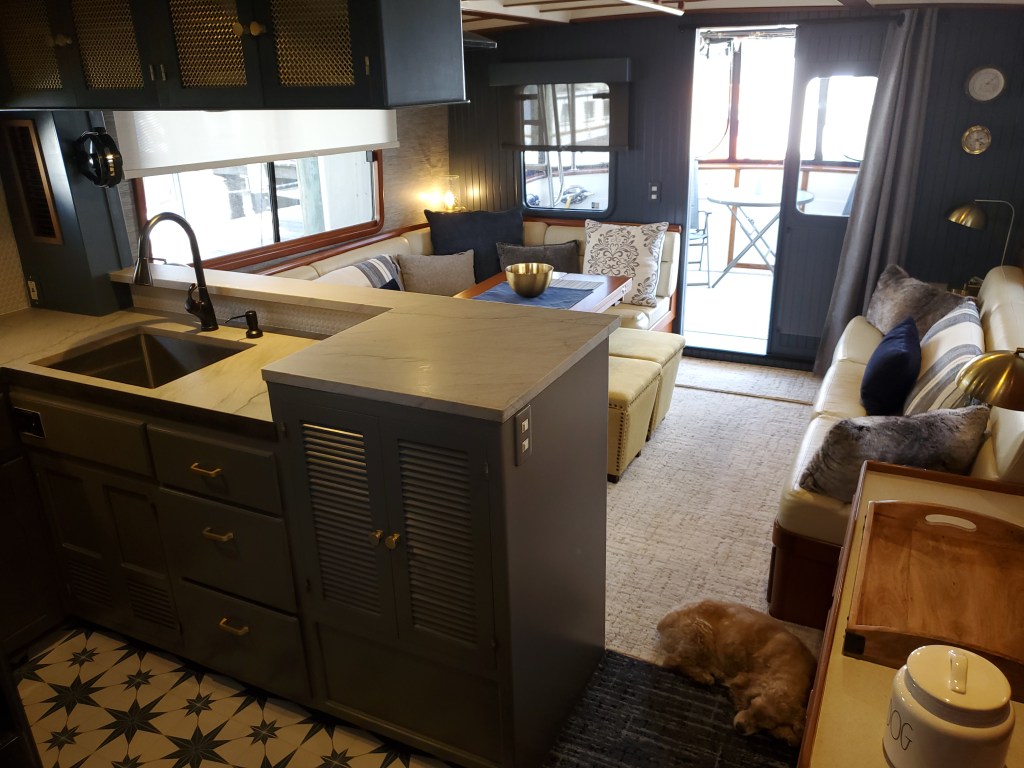
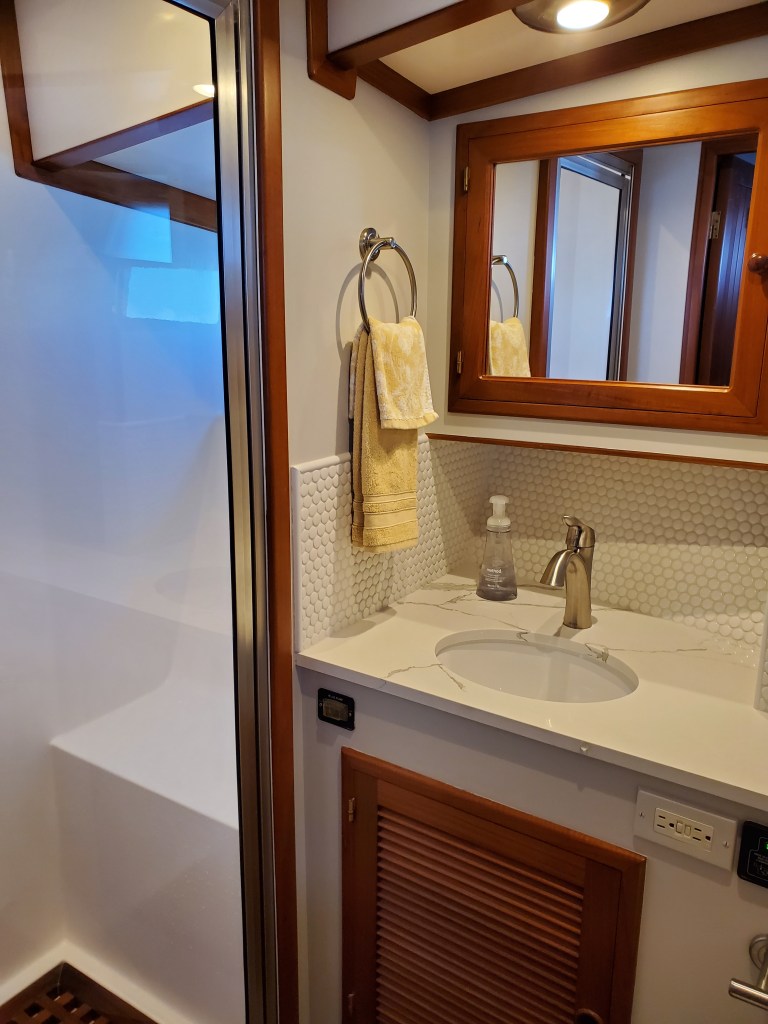
The renovations included, replacing all the light fixtures inside & out with new LED zero EMI fixtures. The kitchen/galley and the 2 bathroom countertops were refitted with new surfaces along with new sinks and faucets. New tile backsplashes were also installed in these locations as well. In addition, the bathrooms got new toilets, shower heads and brackets, thermostats, glass shower doors and the plastic laminate walls were painted. The louvers in the kitchen cabinet doors were removed and replaced with a brushed brass grille-work. The wrenching finger holes were filled in and new pulls and knobs installed. The doors were sent out to be painted and I painted the cabinet bodies. Except for the cabinet doors, I did all the painting throughout the boat interior. The quotes we received for the painting scope were wide ranging from not enough to outrageous – outrageous happens very often with boats. I have done a lot of painting in previous projects. And while I hadn’t painted wood like this or plastic laminate before the company painting the cabinet doors graciously gave me a little tutorial regarding the type of primer and paint to use as well as the rollers, brushes and technique. With this knowledge I felt confident I could handle it.
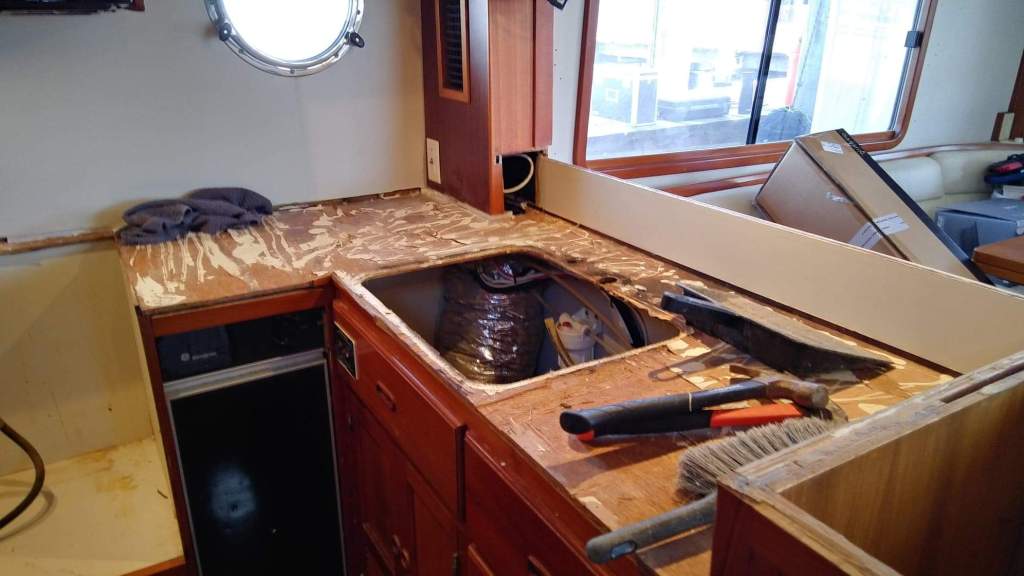
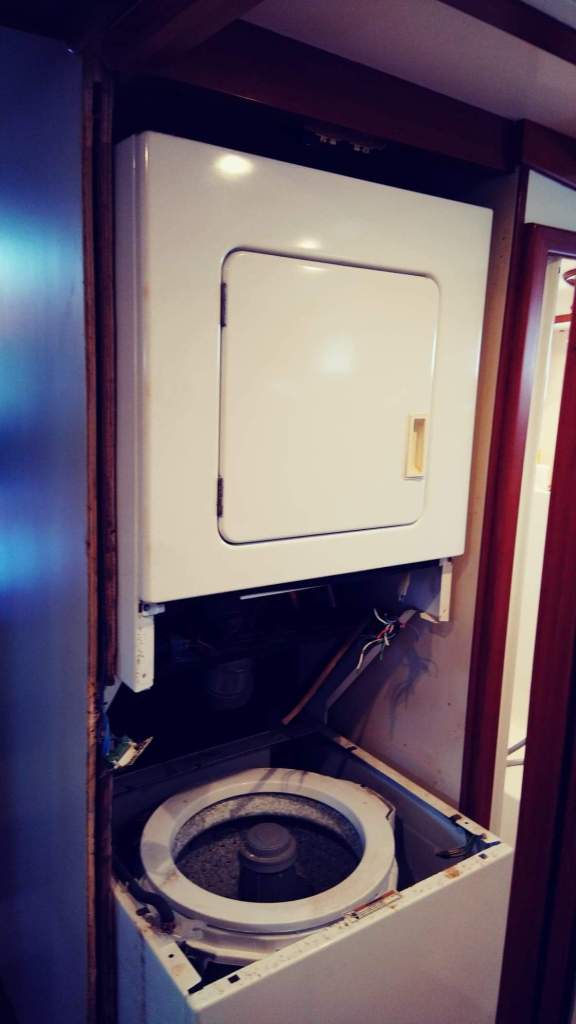
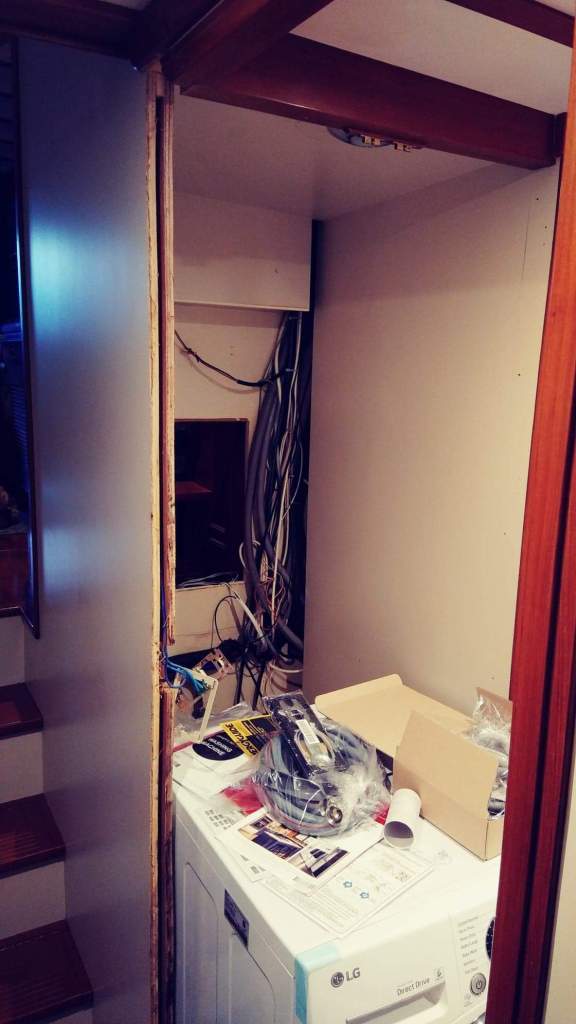
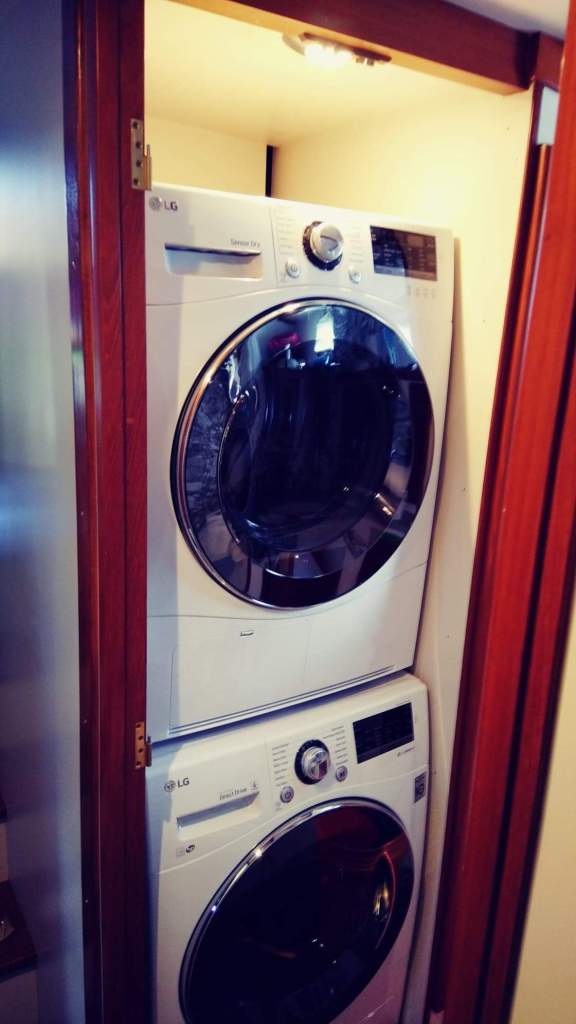
In the kitchen, we replaced the stove not with marine grade unit but, with a residential version. We decided we did not need the gimbel feature as the current stove wasn’t installed with it, nor did we want the potholders, which are ALWAYS in the way. We agreed we wouldn’t use the stove if it was so rough that they were required. Quite frankly, if its that rough we’re having PB & J sandwiches! A new energy efficient 14.6 cu ft refrigerator – same as the previous one, was installed but, not without incident. The published specs weren’t accurate and we ended up having to modify the cabinet above the unit in order for it to fit. Thankfully, we were working with a great carpenter who was incredibly nimble when it came to these diversions. We ran into a similar issue when replacing the washer / dryer. We had measured the current alcove and existing units several times. I measure & Luke measured. Everything worked with some room to spare. However, when we went to remove the existing units to prepare for the delivery of the new units we couldn’t get them out of the room’s door. Apparently, the boat had been built around them and we ended up having to cut the hallway wall to increase the size of the opening. This wasn’t the 1st time our carpenter had had to do this on a boat!
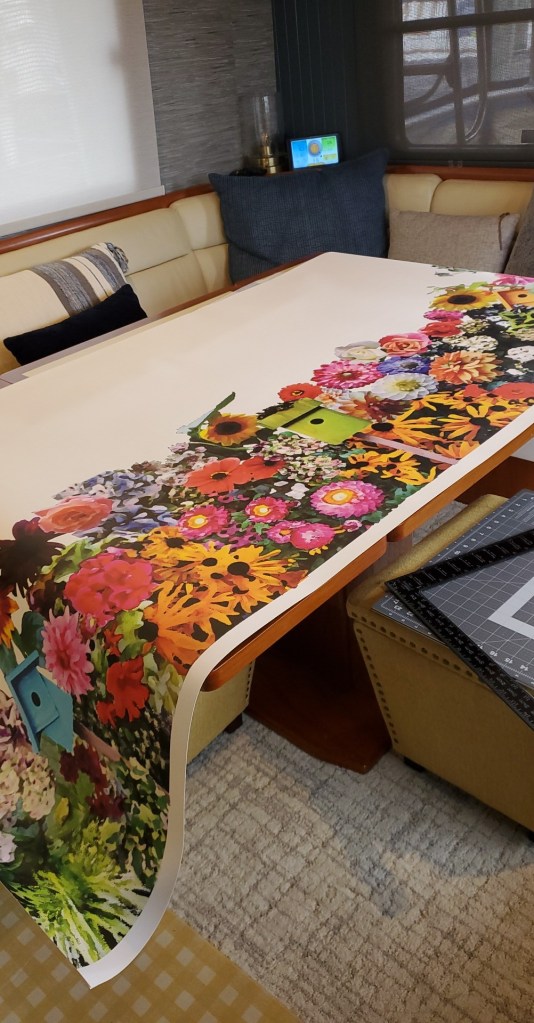
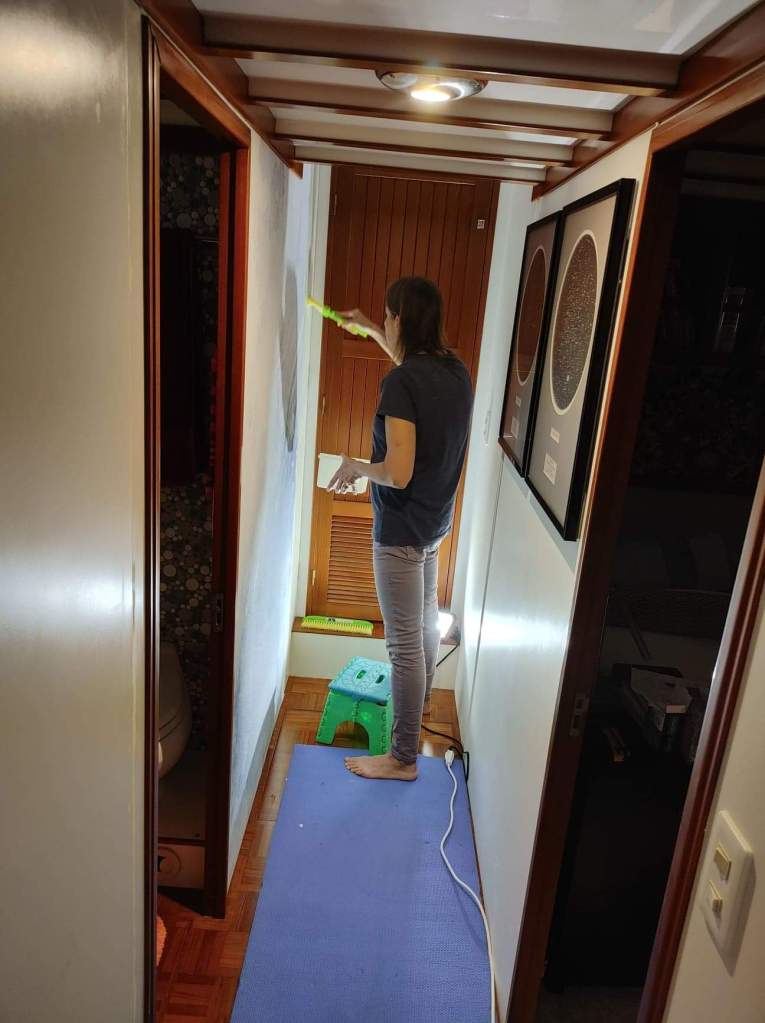
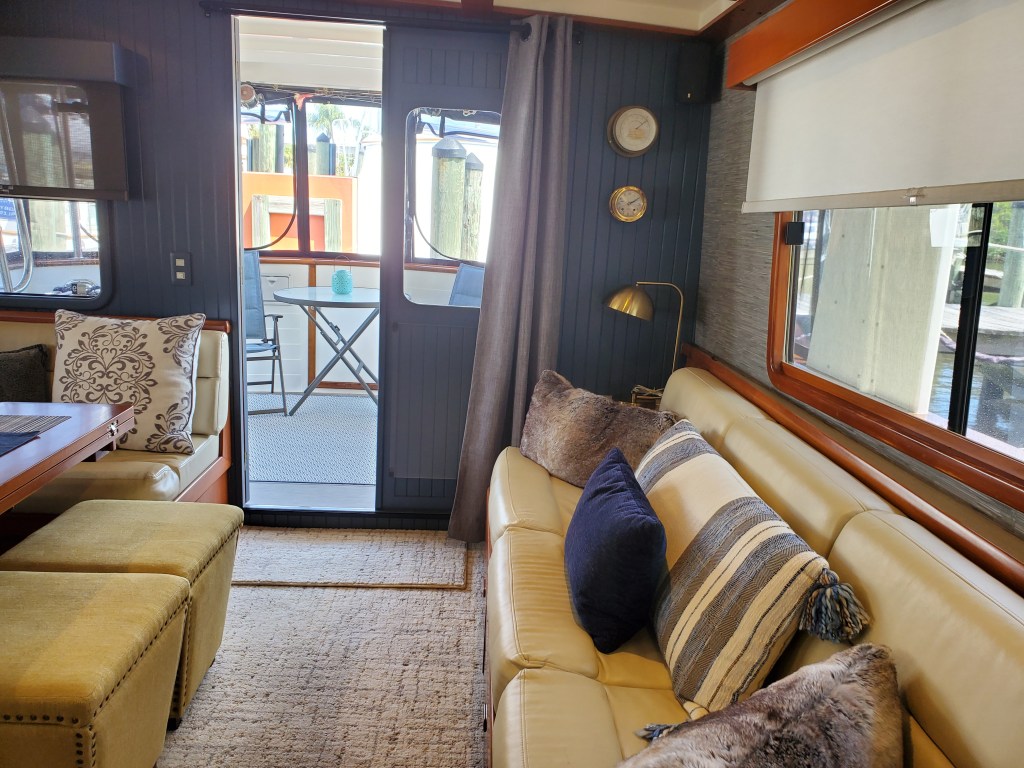
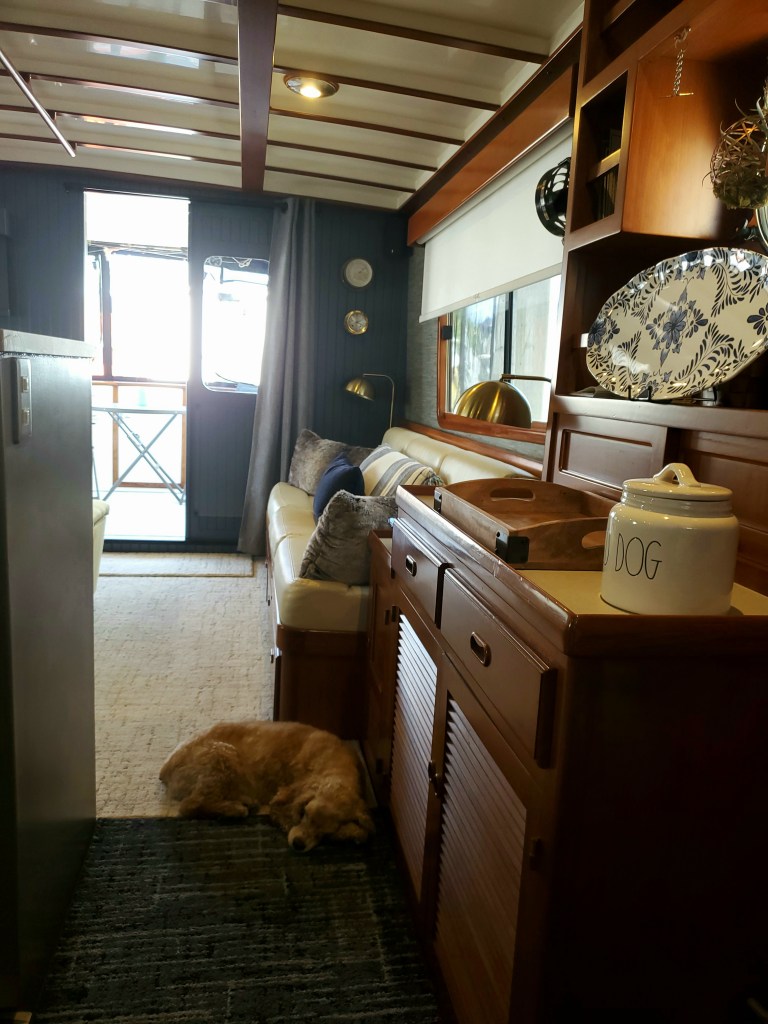
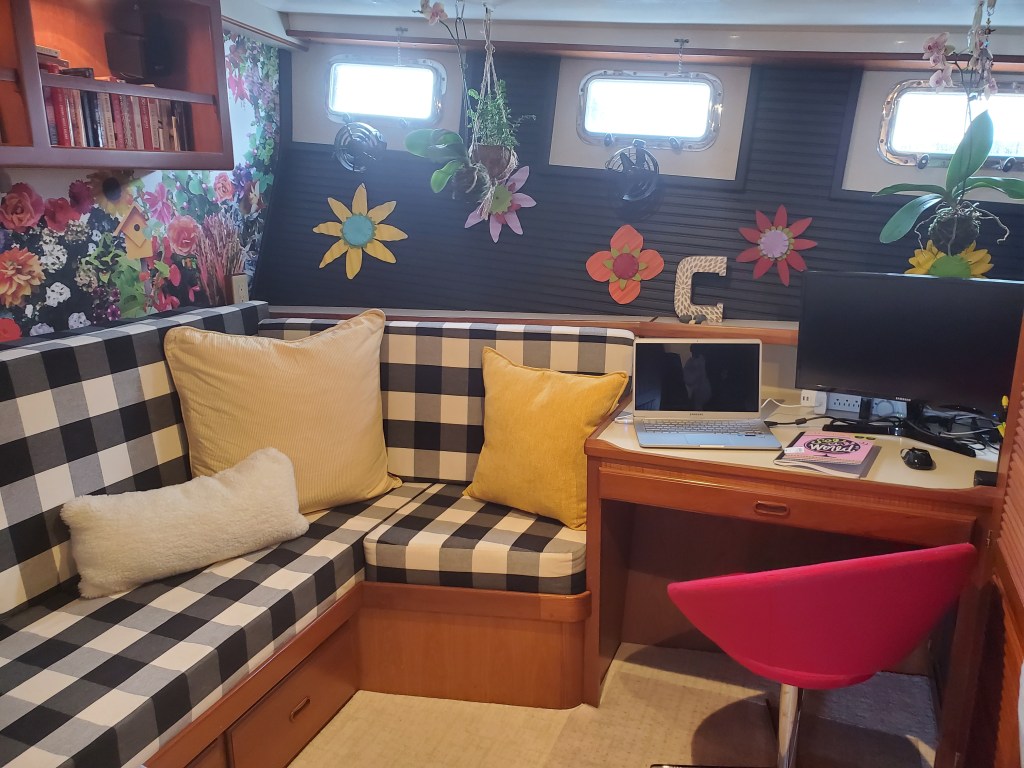
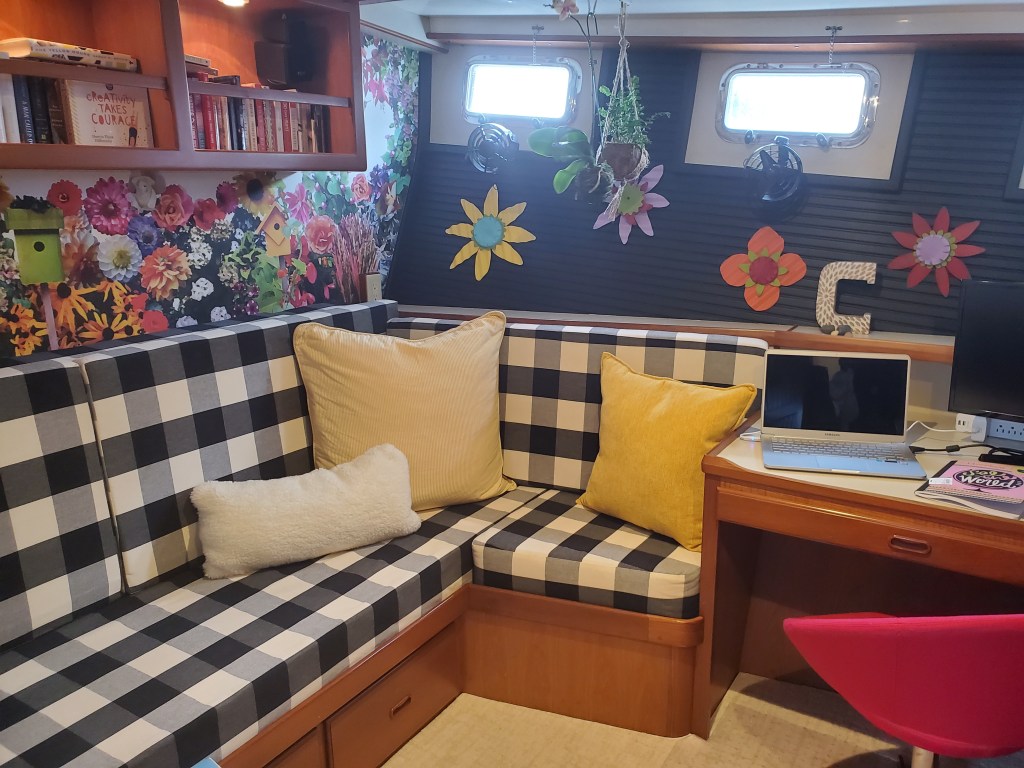
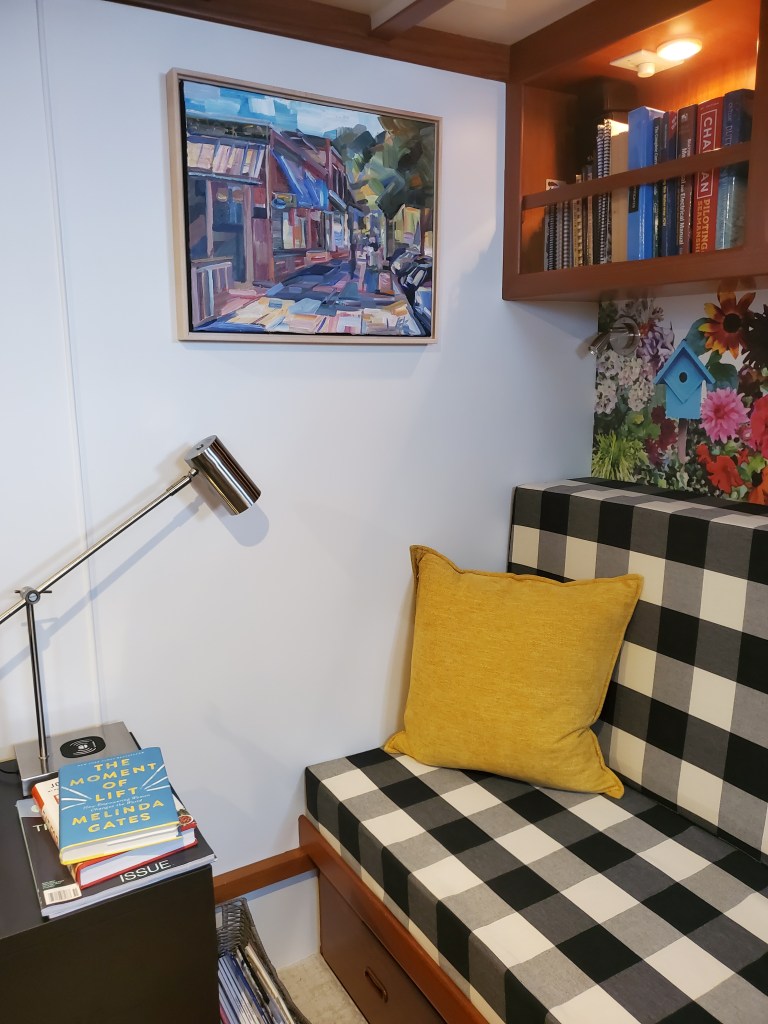
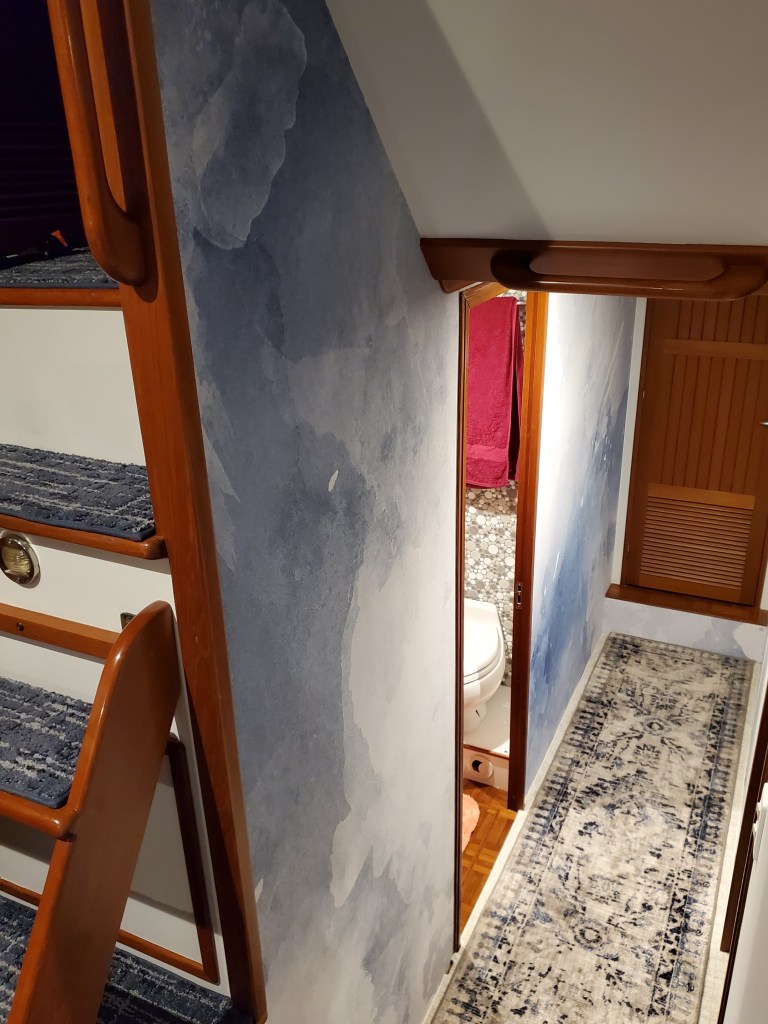
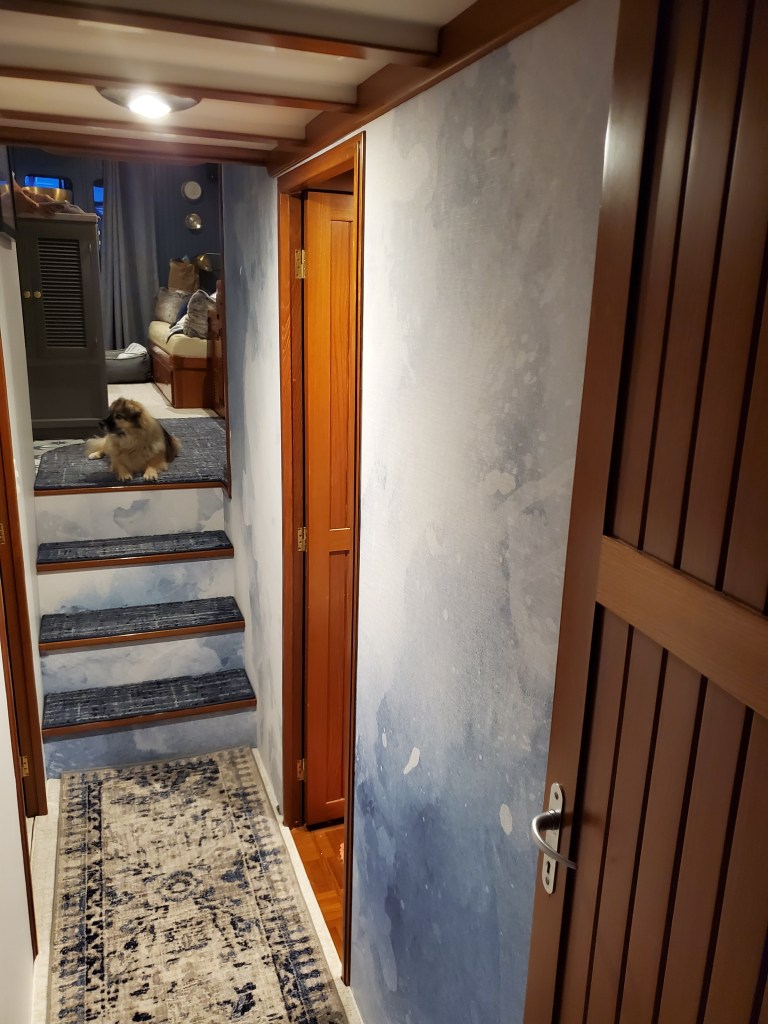
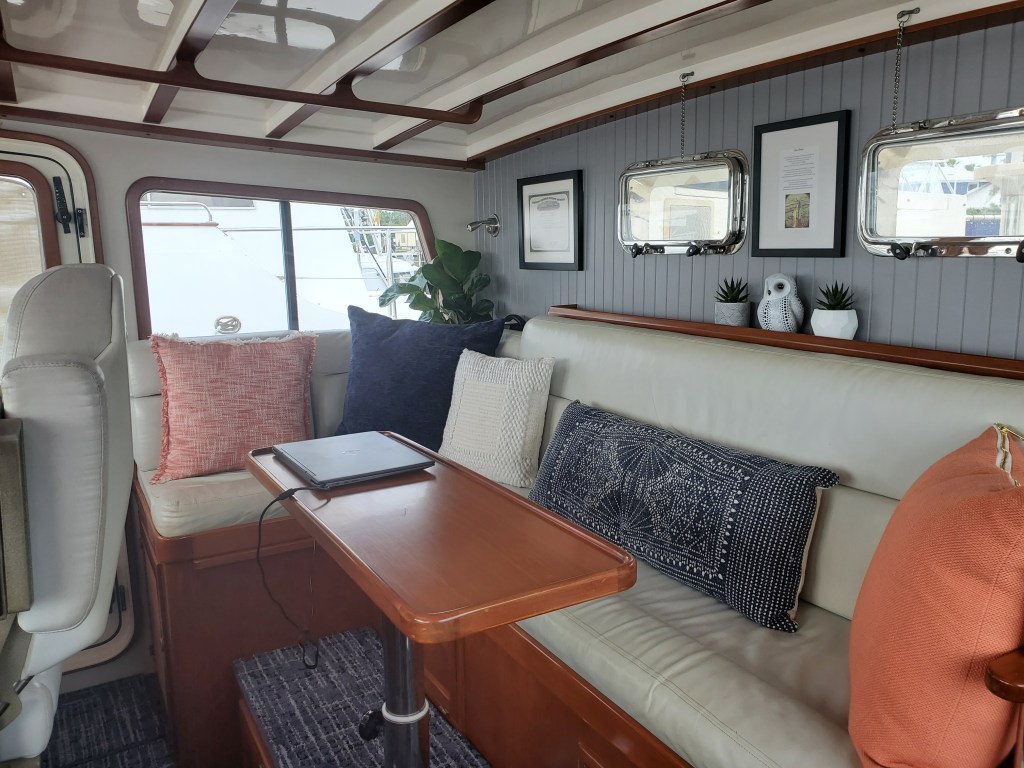
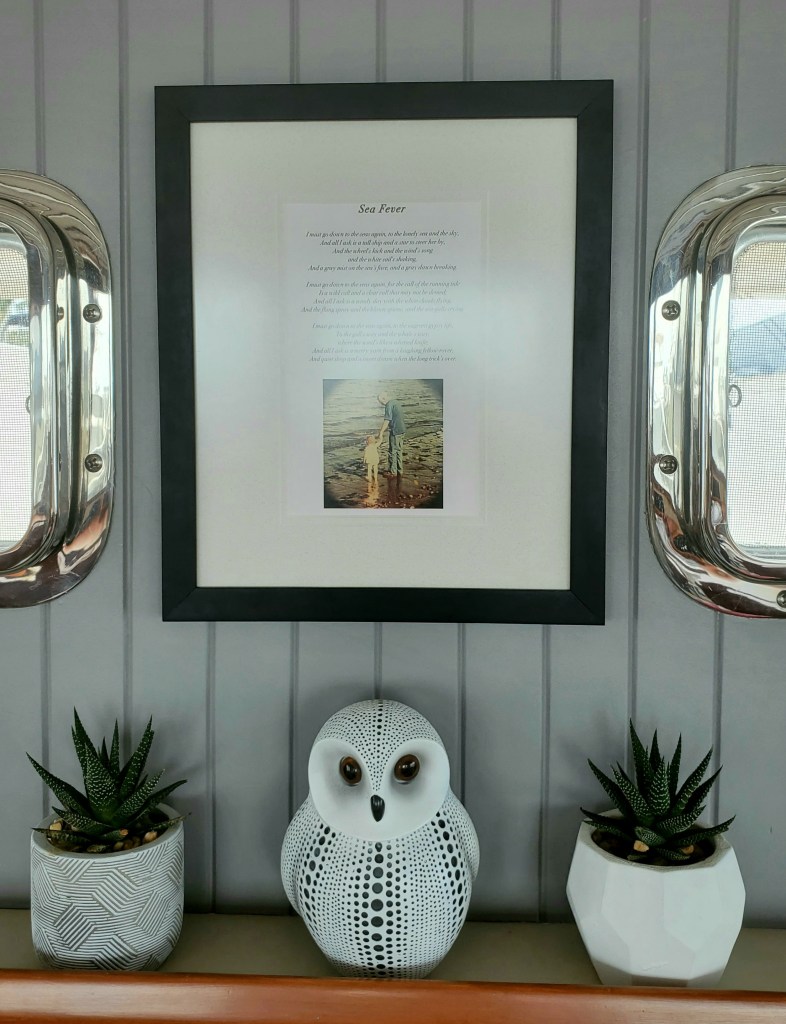
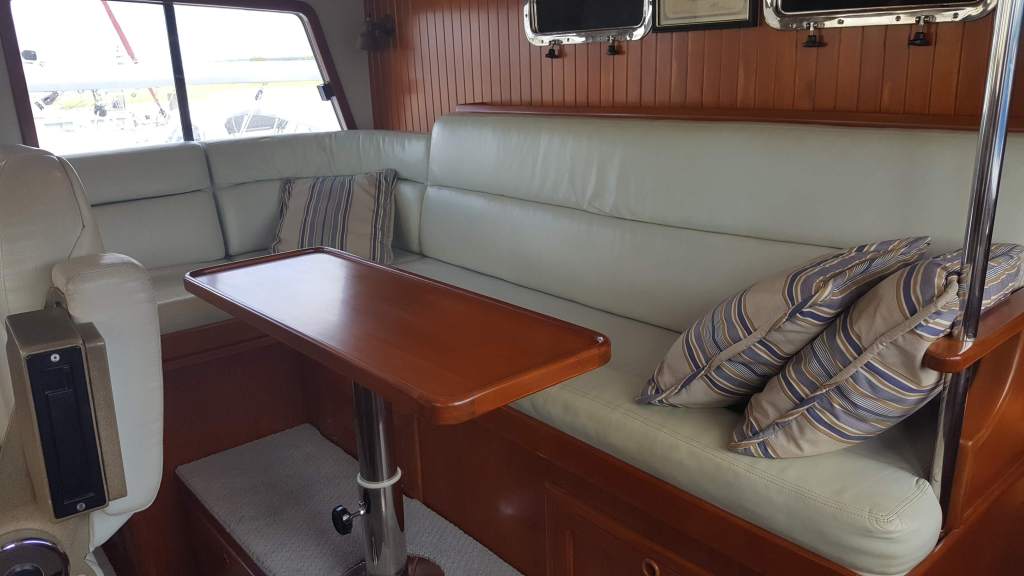
We replaced the interior and exterior cloth upholstery. I sewed some and others were sent out. The office cushions are oddly shaped and it took 2 tries with 2 different upholsterers to get the cushion shapes to fit correctly. I wallpapered walls and the walls that didn’t get covered, got painted. We installed a stock wall mural the length of the hall and another one that I designed in the office. I’m a gardener and I knew what I would miss the most from our Bainbridge Island home were my gardens and gardening. So, before we left, I went around and took copious photos of some of the plants and blooms as well as some of the garden features with the intent of making a mural for the boat office. During the COVID shutdown I taught myself enough Photoshop to create a collage of these images and applied filters to make it look painterly then sent it out to be printed on self-sticking wallpaper stock. Luke and I worked together hanging it and it makes me smile every time I look at it.
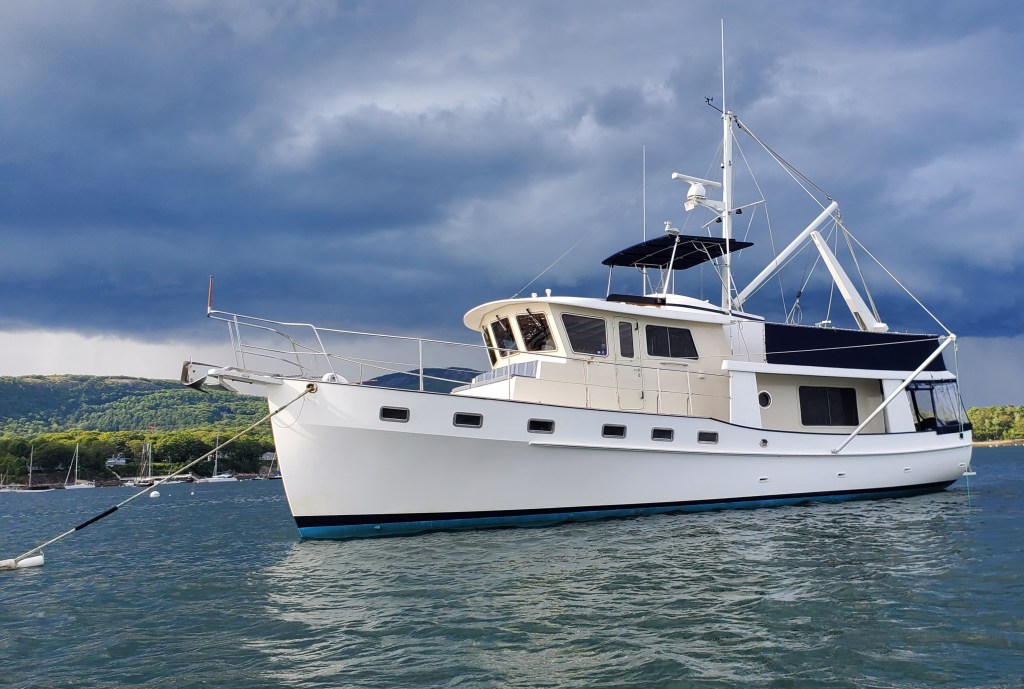
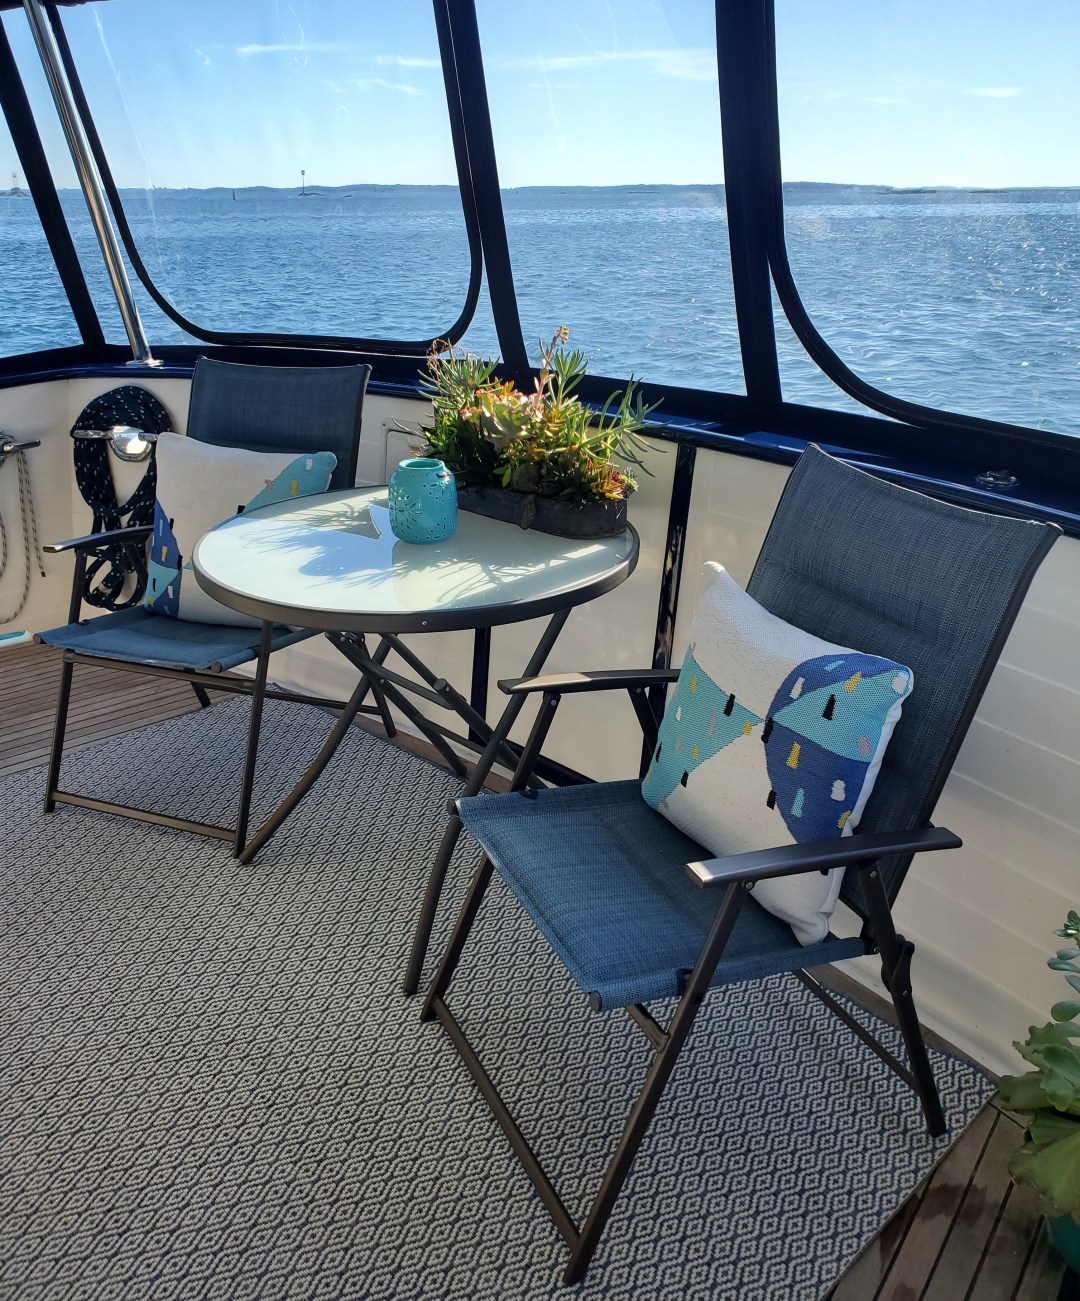
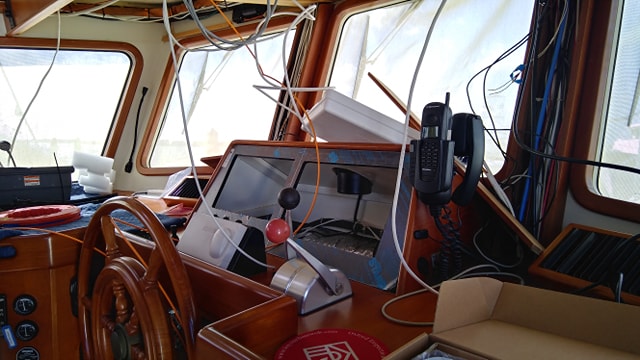
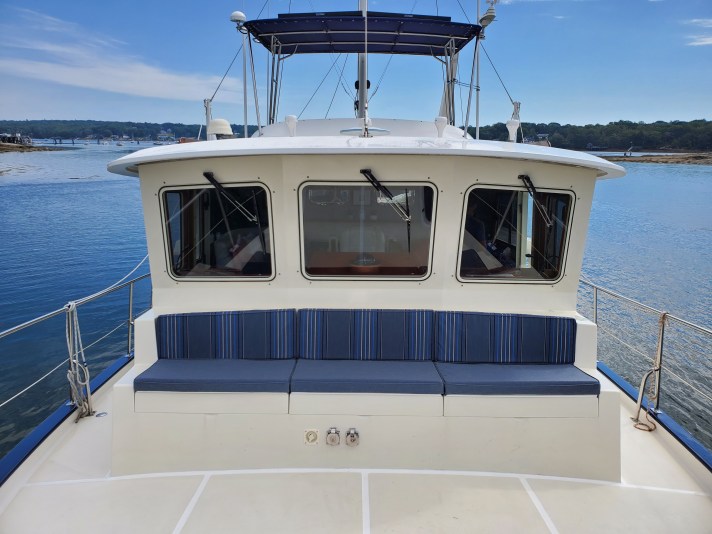
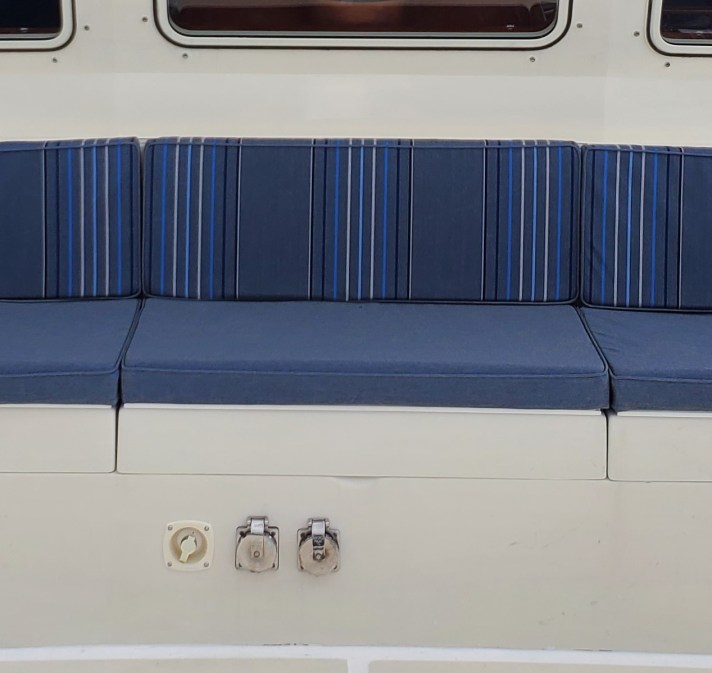
Other changes include: new carpet throughout, new window shades and a retractable screen door. On the exterior we installed an Eisenglass enclosure for the aft deck and a canvas lee cloth around the flying bridge. We opted to paint the wood cap rail that runs around the boat – referred to as brightwork, with Awlgrip thus eliminating the yearly varnishing maintenance work. What I haven’t even touched on so far, was the massive undertaking Luke managed of updating the electronics and navigation systems. This endeavor consumed the whole first month and a half we were on the boat and continued after the holiday excursion. While there are few more projects we have scheduled they will need to wait until later this year. We needed to leave Florida around the beginning of June for the start of hurricane season and also for our sanity. We had spent the first 6 months of owning the boat primarily at the dock – with the exception of a small excursions around the holidays, renovating and it was time for us to get on with la raison d’etre – travel!

You can follow our renovations in greater detail in our Journi blog, “On the Road Again…”
PHOTOS
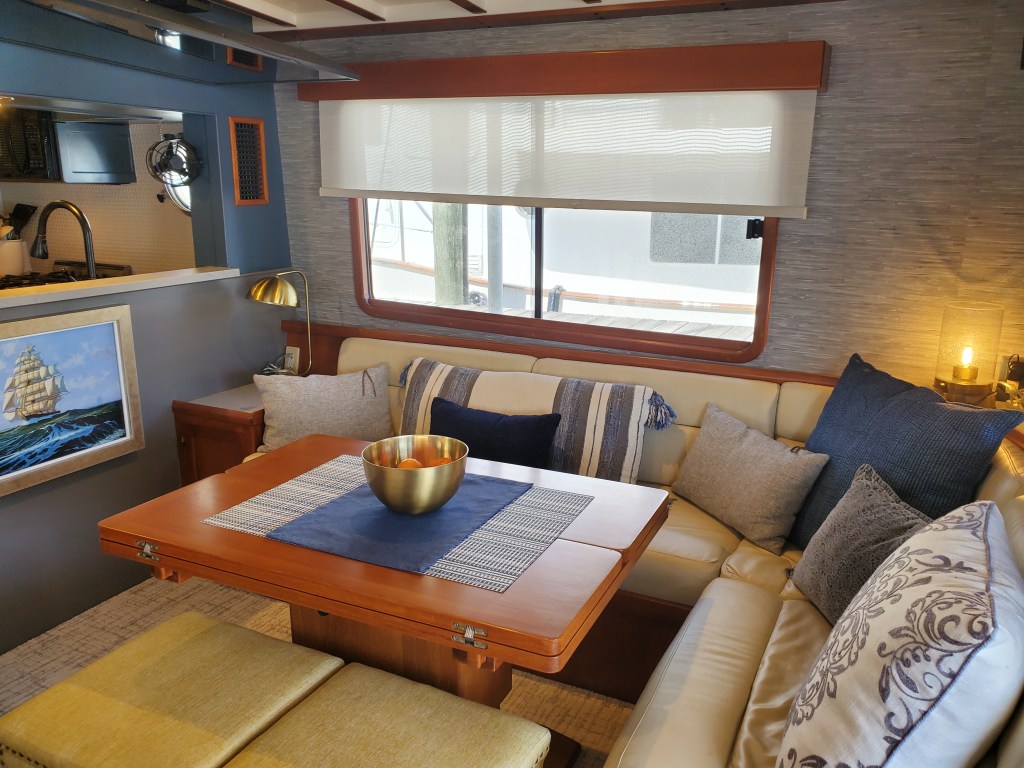
SALON / LIVING, DINING & GALLEY / KITCHEN
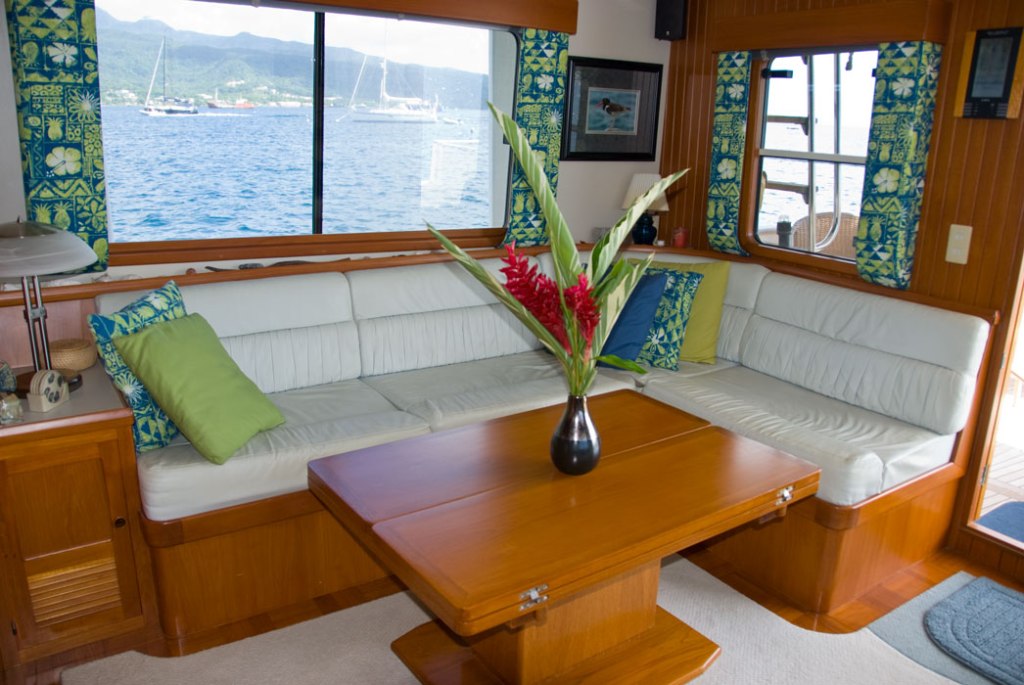
BEFORE
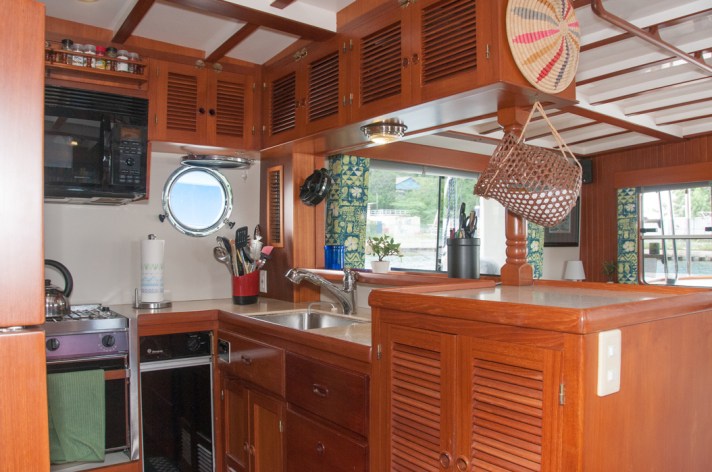
BEFORE 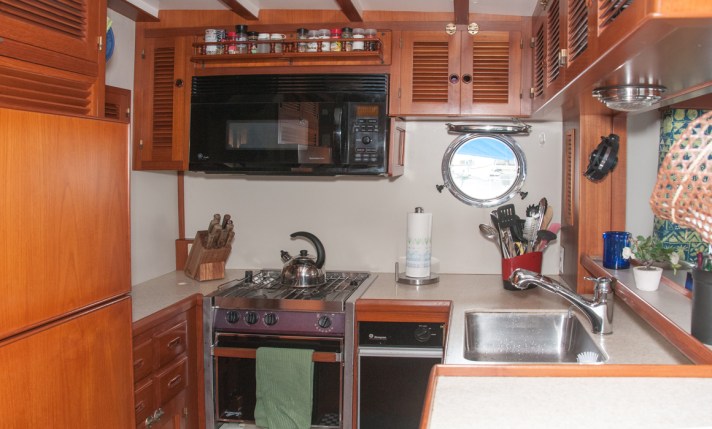
BEFORE 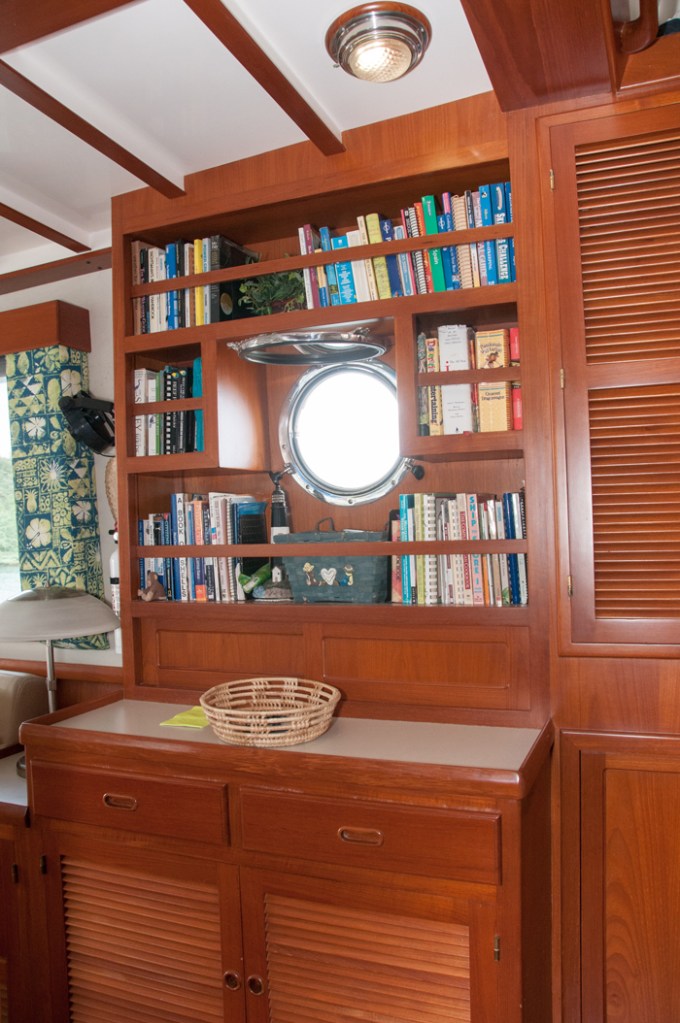
BEFORE
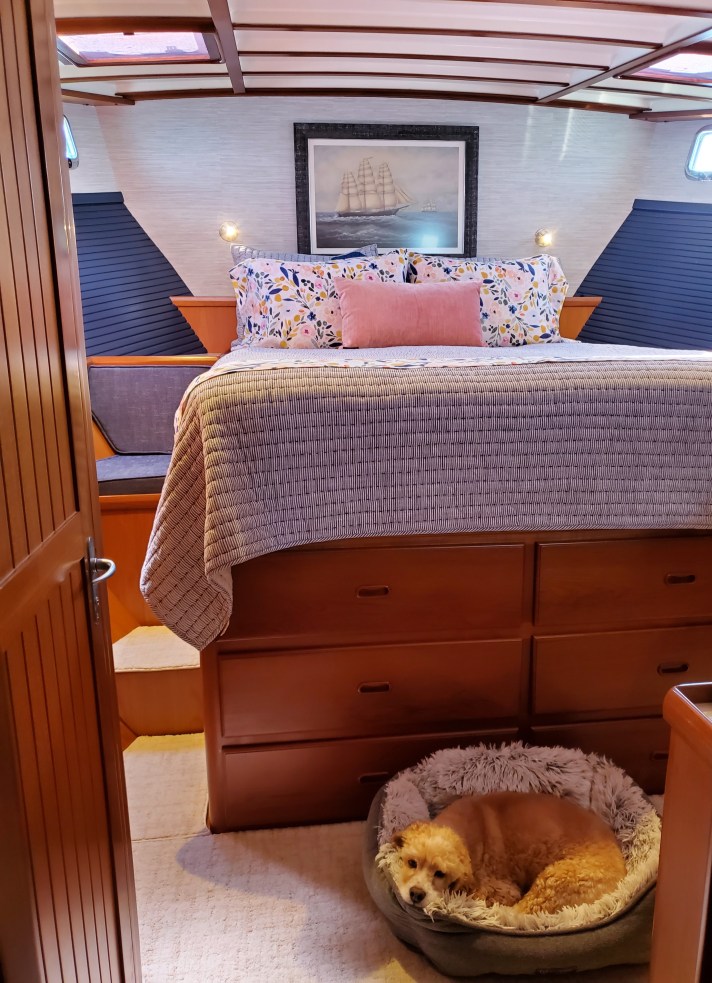
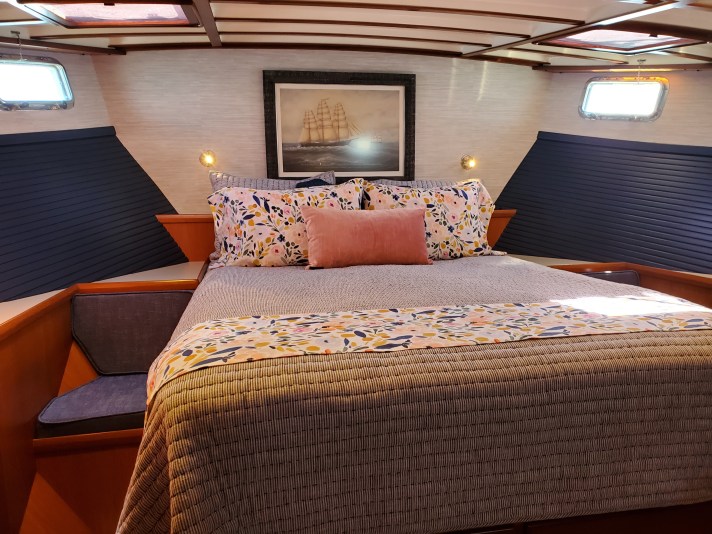
THE MAIN BEDROOM OR STATEROOM
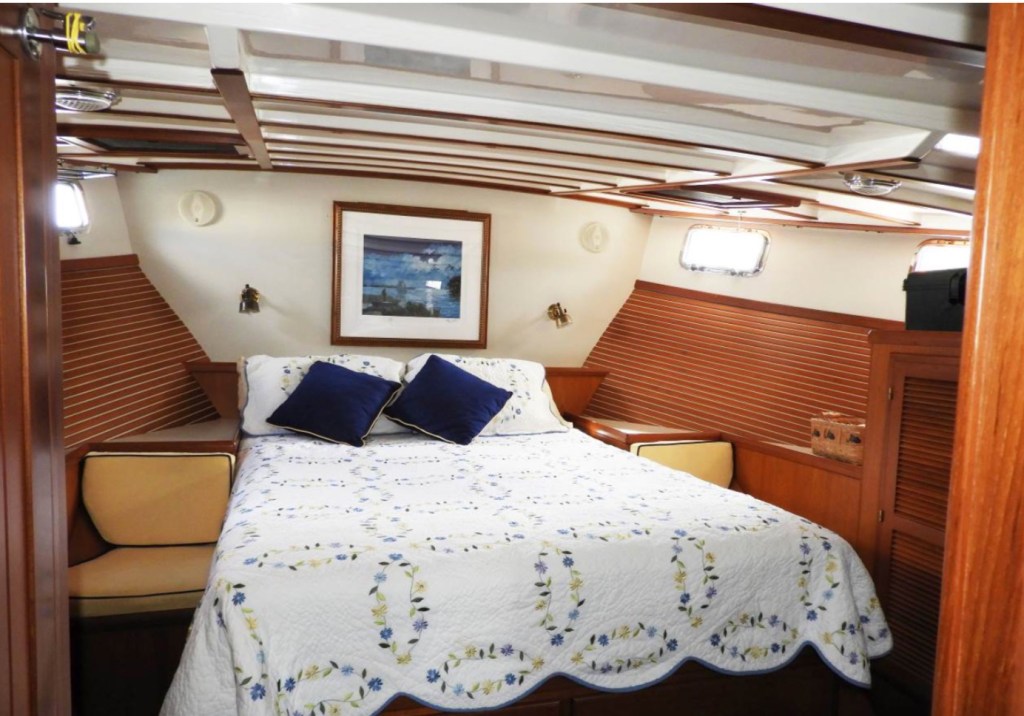
BEFORE
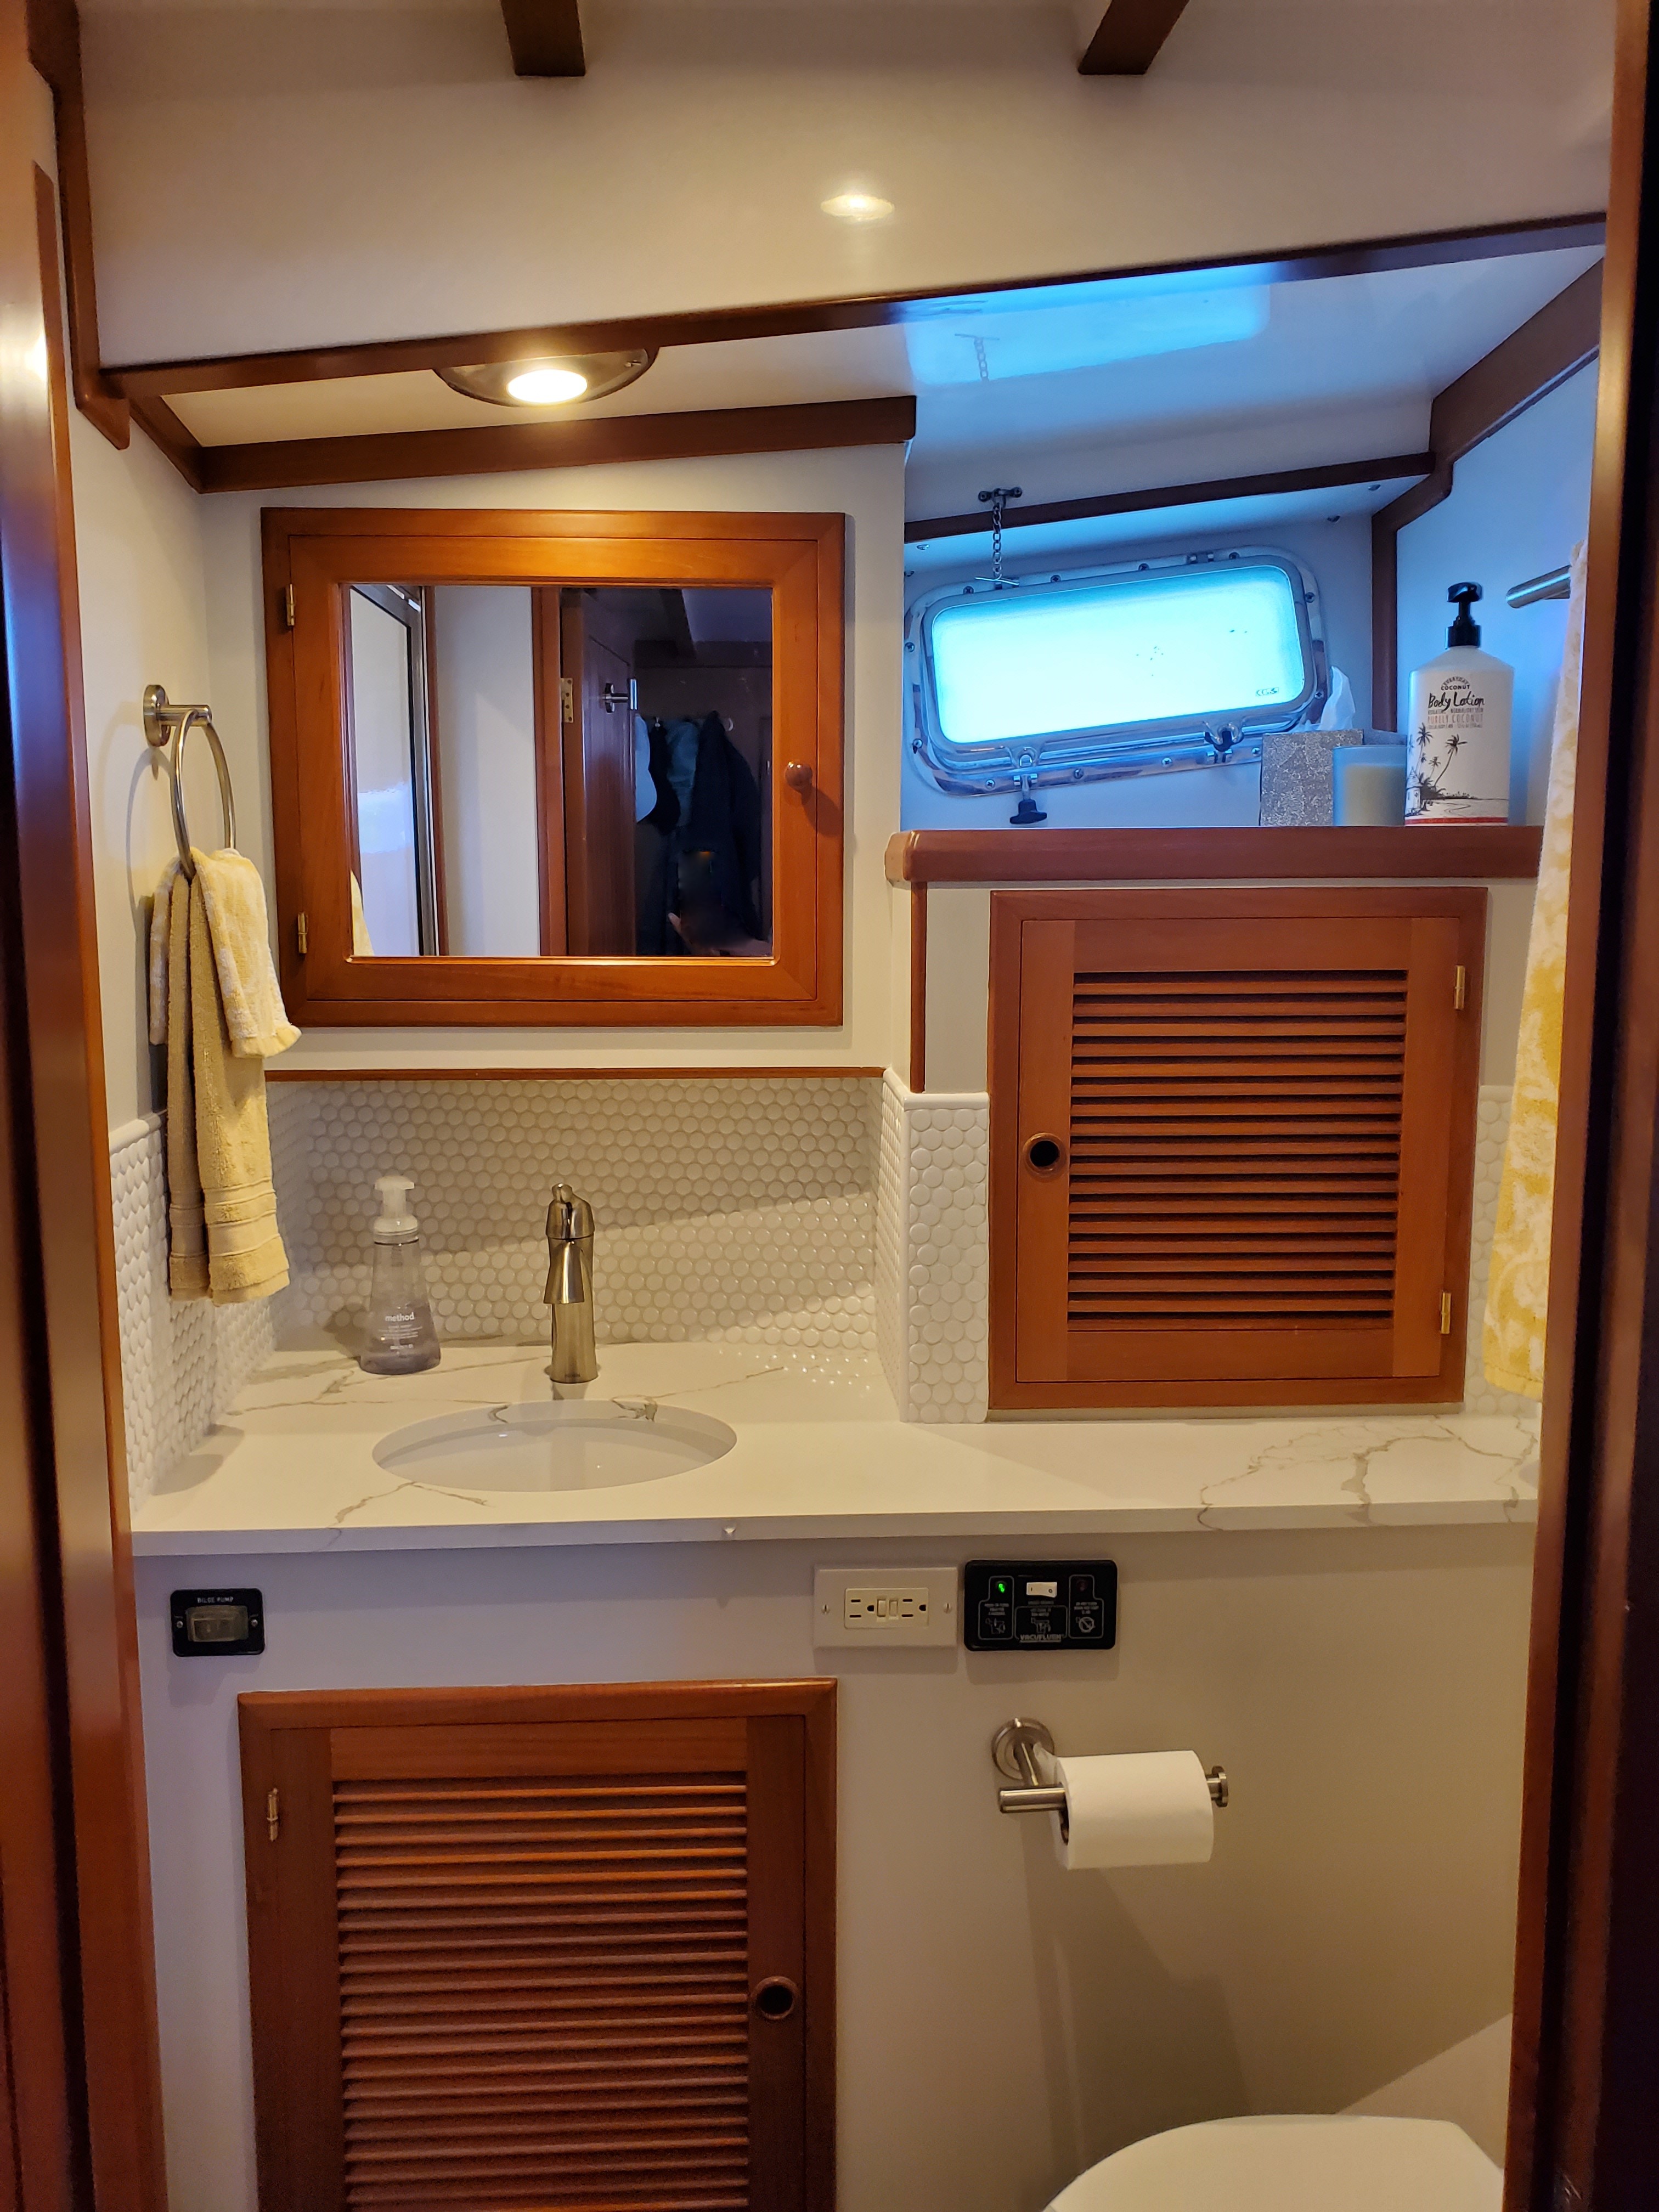
STATEROOM HEAD
BEFORE 
BEFORE
OFFICE / GUEST ROOM
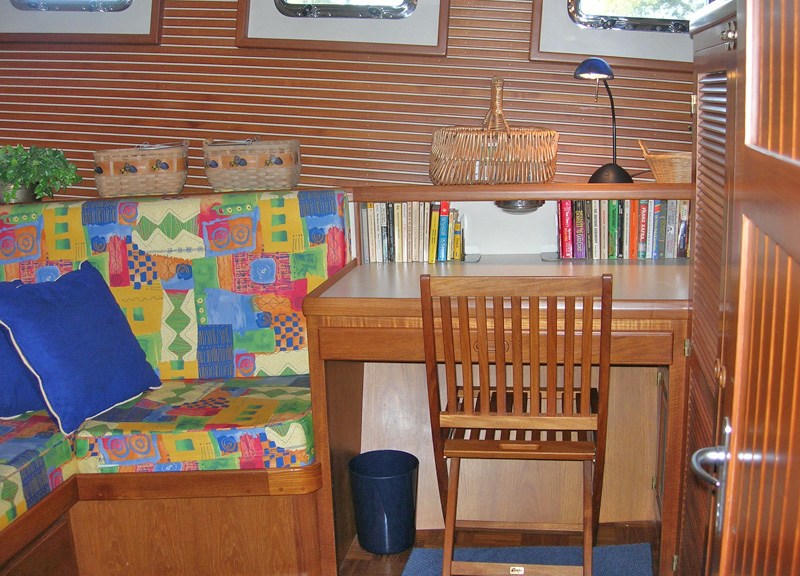
BEFORE 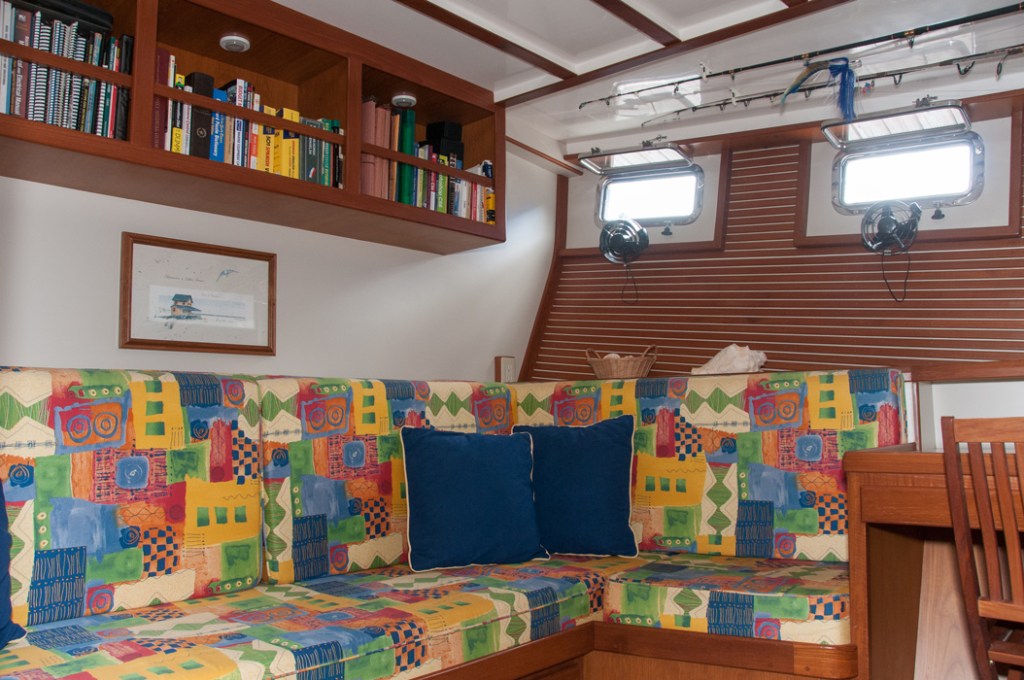
BEFORE
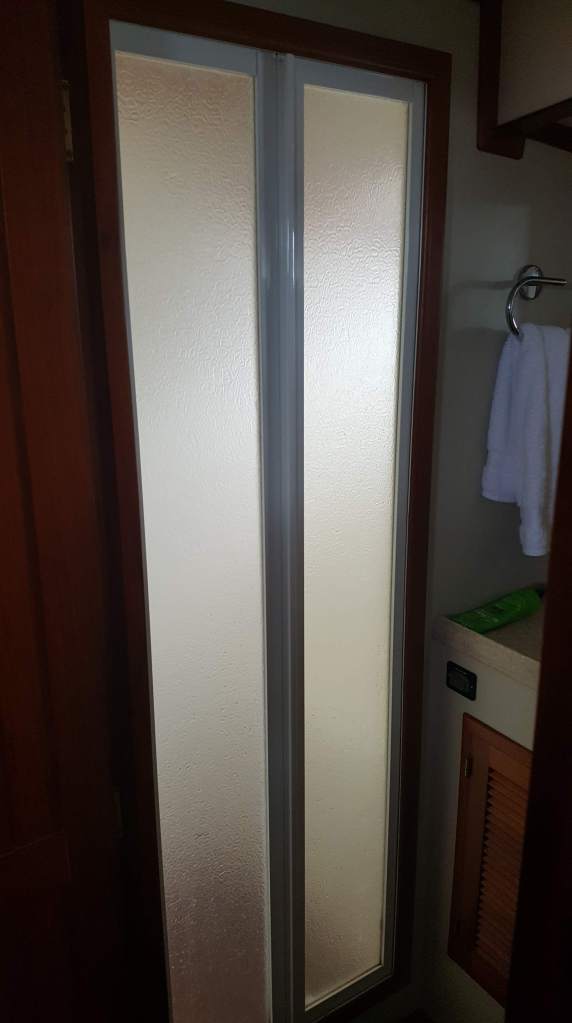
GUEST HEAD

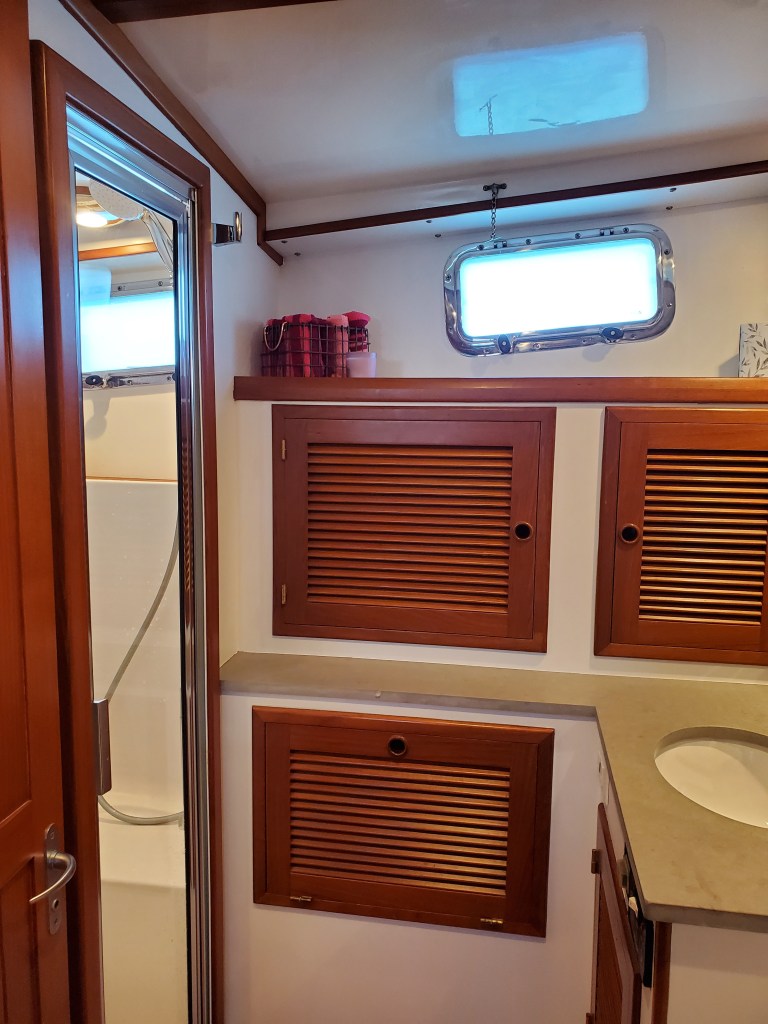

BEFORE 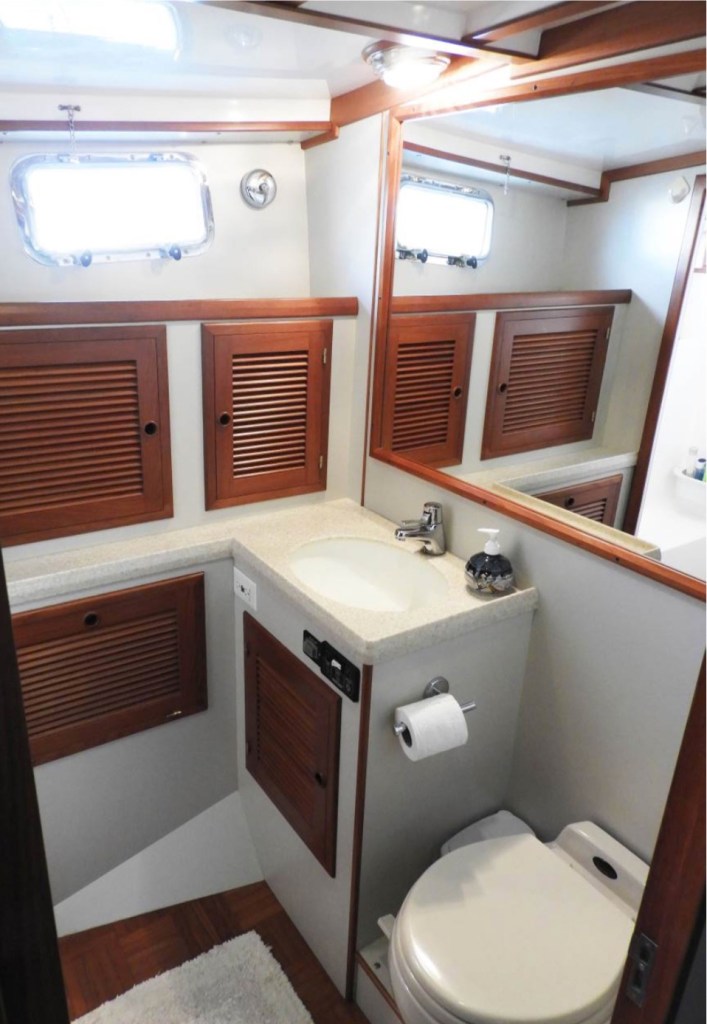
BEFORE
HALLWAY

BEFORE
PILOT HOUSE
BEFORE
BOAT EXTERIOR
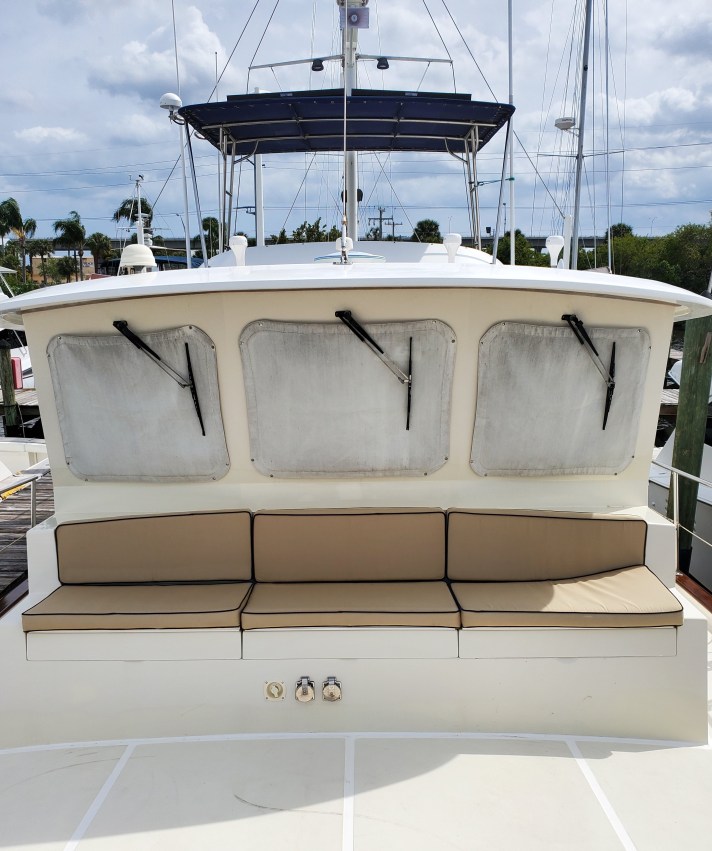
BEFORE

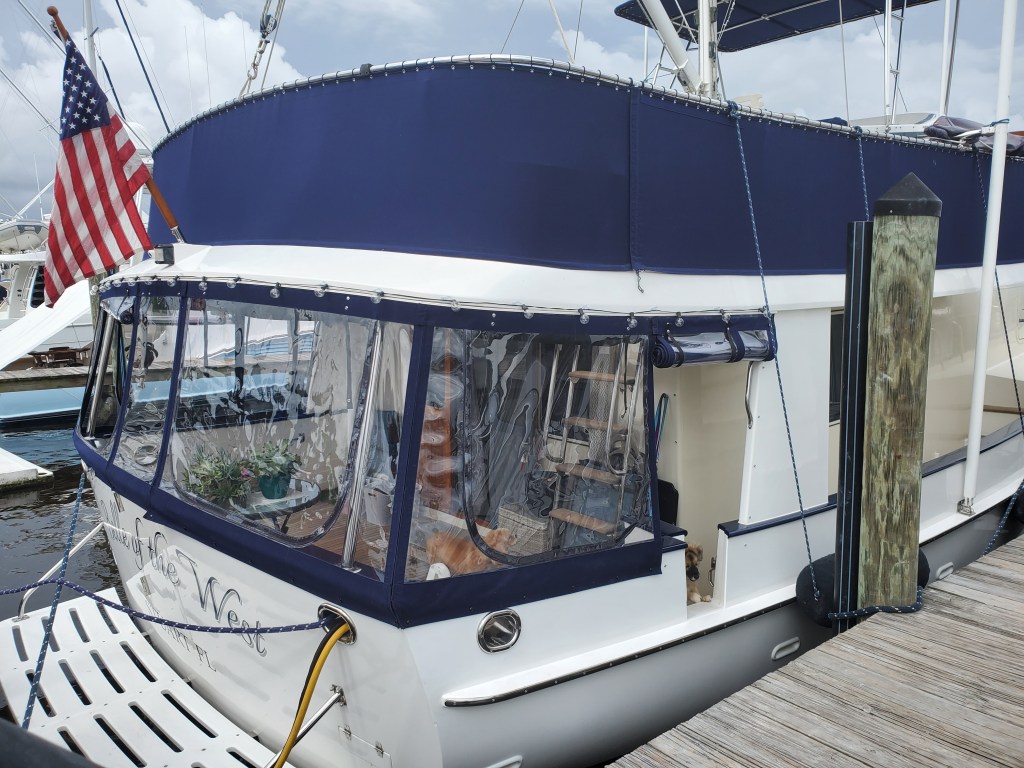
New Eisenglass enclosure 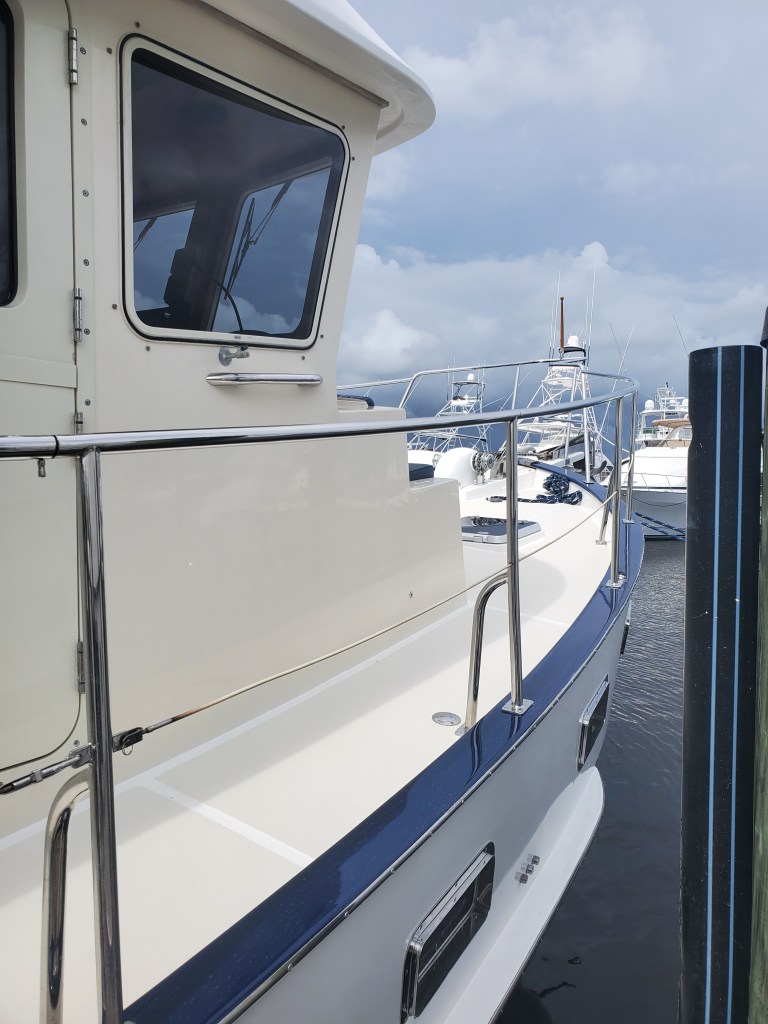
Varnished rail replaced with Awlgrip 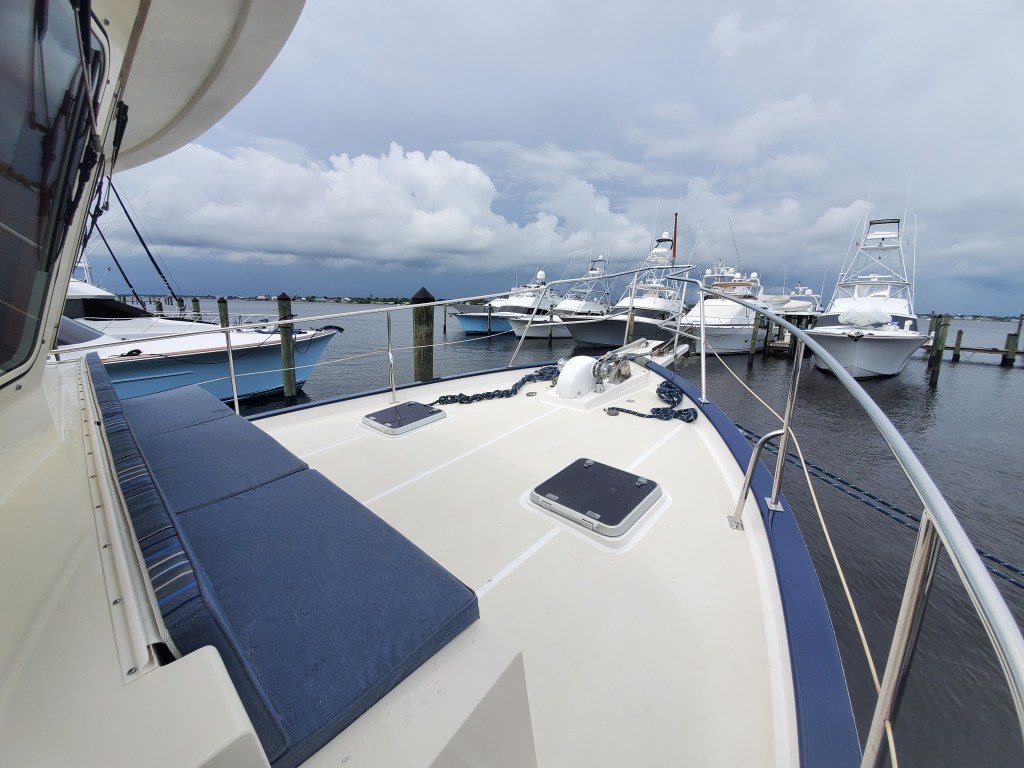
Ready for traveling 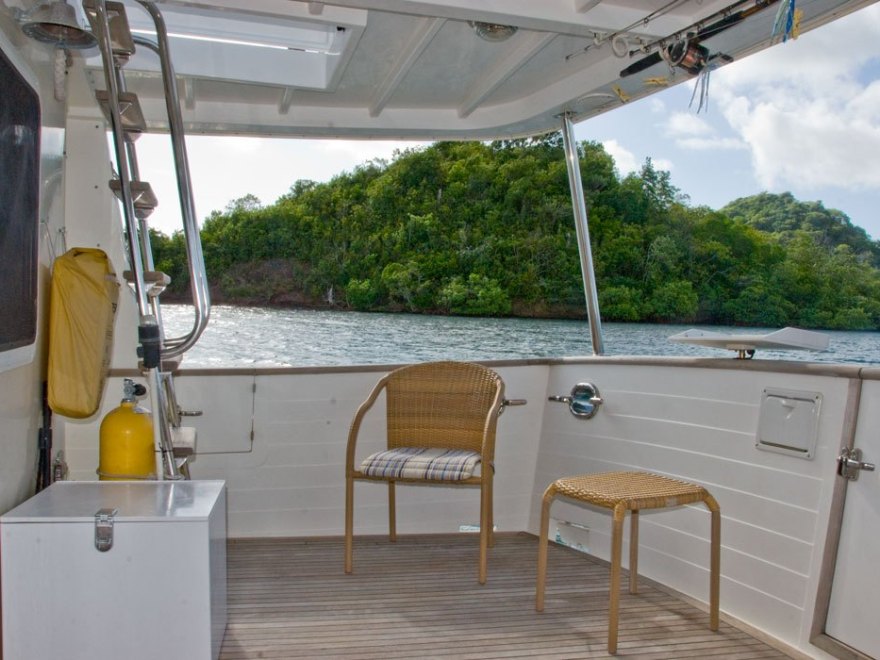
BEFORE